Making a Full Drop Repeat Pattern in Procreate
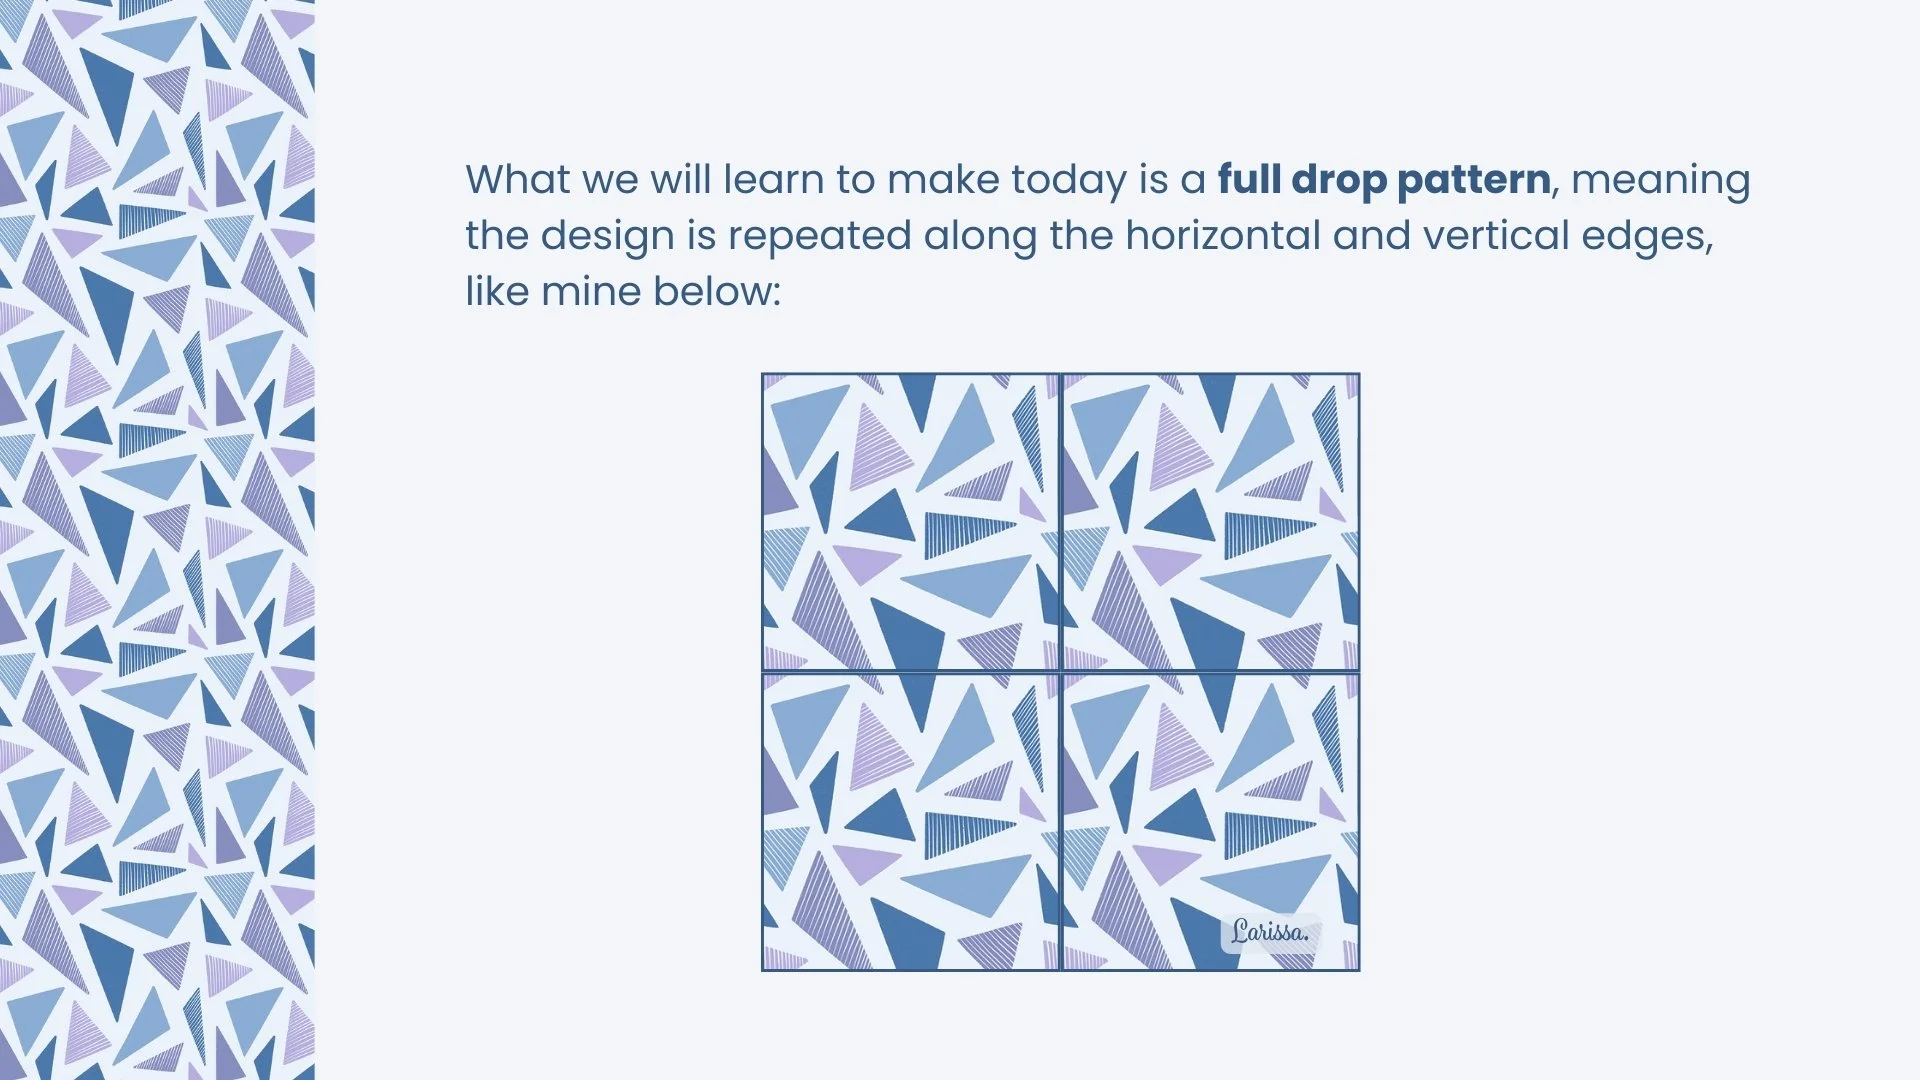
After making repeat patterns for a few years, I’ve decided to share with you how to make repeat patterns in Procreate. There are many types of repeat patterns, and I will talk about them one by one over time. Let’s start by learning to make a full drop pattern.
Setting Up a Full Drop Repeat Pattern File
Create a new canvas of 3000px by 3000px (could be any other square size) at 300dpi,
Toggle on “Drawing Guide”, set it as “2D Grid”, bump up the grid size to “max”, you will then have a horizontal middle line and a vertical middle line on your canvas,
Fill the entire canvas with a color, creating a square shape,
Go to “Transform”, toggle on “Magnetics” and “Snapping”,
Move the square horizontally to the left until the right edge of the square snaps to the vertical middle line. If you see the vertical middle line appearing in orange, that’s an indication you are doing the right thing,
And now you have a rectangle shape on your canvas,
Go to “Layers” and then create a new layer, fill that layer with a different color, creating another square shape,
Go to “Transform” again, make sure “Magnetics” and “Snapping” are toggled on,
Move this square horizontally to the right until the left edge of the square snaps to the vertical middle line. If you see the vertical middle line appearing in orange, that’s an indication you are doing the right thing,
And now you have a second rectangle shape on your canvas,
Zoom in to check if the two rectangles are placed side by side correctly, meaning there’s no white space in between,
Select the first rectangle (on the left) in the “Layers” menu, tap on “Save & Load” at the bottom, tap on the “+” symbol to save it as “Selection 1”,
Select the second rectangle (on the right) in the “Layers” menu, tap on “Save & Load” at the bottom, tap on the “+” symbol to save it as “Selection 2”,
Group the two rectangles together, duplicate the group, hide the original group and select the duplicated group,
Go to “Transform”, tap on “Rotate 45°” twice, turning the group to 90°,
Now you have two new rectangles, one on top and the other at the bottom,
Select the top rectangle in the “Layers” menu, tap on “Save & Load” at the bottom, tap on the “+” symbol to save it as “Selection 3”,
Select the bottom rectangle in the “Layers” menu, tap on “Save & Load” at the bottom, tap on the “+” symbol to save it as “Selection 4”,
Delete everything in the “Layers” menu, then your full drop pattern file is set up and ready to go.
How to set up a full drop repeat pattern file in Procreate
Designing the Pattern
The pattern I’m going to design is full of triangles, just to keep things simple,
I will use the “Dry Ink” brush in the “Inking” brushset in Procreate to draw this pattern,
Make sure the elements you’ve drawn at this stage do not cross the edges of the canvas.
Designing a full drop repeat pattern
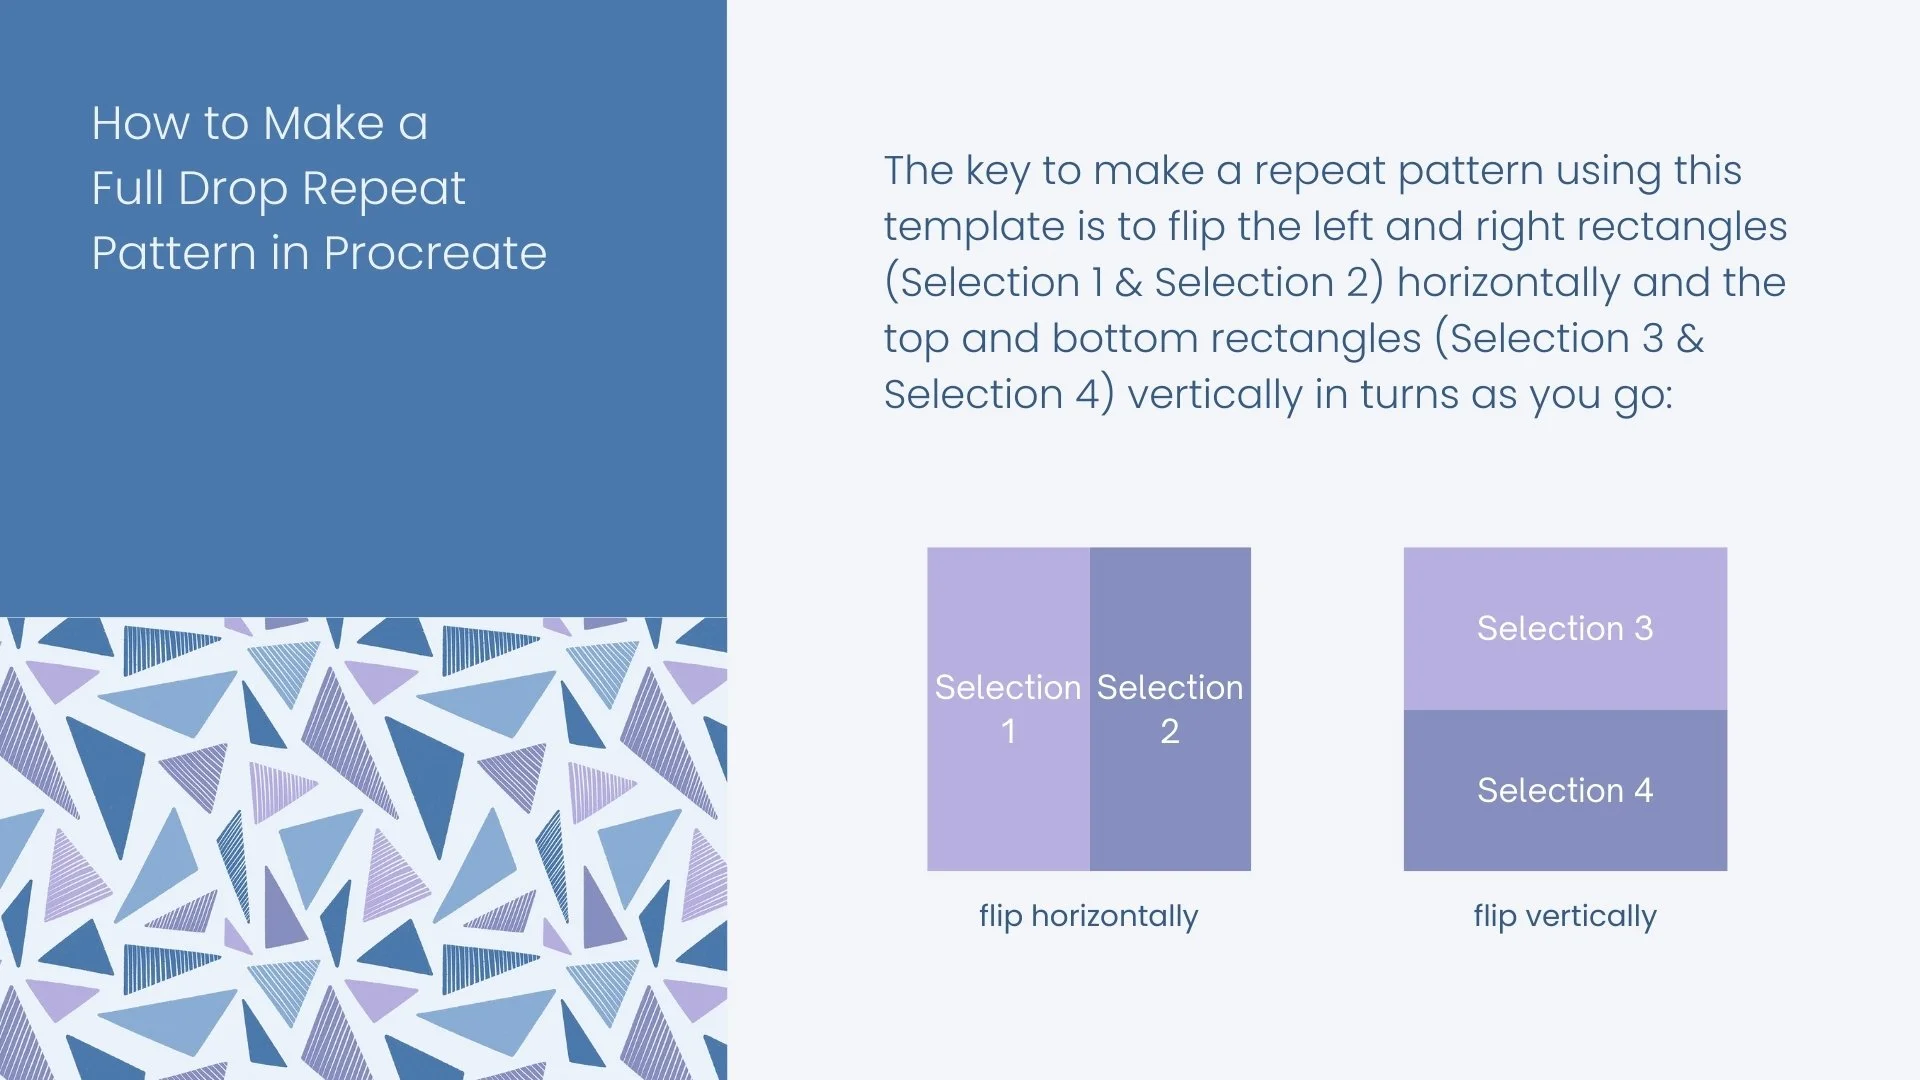
Flipping Selection 1 & Selection 2 Horizontally
Before doing the flipping, make sure to create a new layer under the elements you have drawn, and fill that layer with a color,
It would be great for you to think about the background color for your pattern at this stage, and use that color to fill this new layer,
Group the elements you’ve drawn so far and the color layer together, the group will become the original repeat file after you’ve done everything,
Select both layers within the group, go to “Selections”, tap on “Save & Load”, tap on “Selection 1”, then go to “Transform”, tap on “Flip Horizontal”,
Go to “Selections” again, tap on “Save & Load”, tap on “Selection 2”, then go to “Transform” again, tap on “Flip Horizontal”.
Flipping Selection 1 & Selection 2 horizontally in the full drop repeat pattern
Continuing to Design the Pattern
Feel free to reposition the elements as you go,
I use the “Freehand Selection“ tool to isolate the element I’d like to move,
Now you can continue to design your pattern,
Make sure whatever you draw does not cross the edges of the canvas.
Continuing to design the full drop repeat pattern
Flipping Selection 3 & Selection 4 Vertically
Select both layers within the group, go to “Selections”, tap on “Save & Load”, tap on “Selection 3”, then go to “Transform”, tap on “Flip Vertical”,
Go to “Selections” again, tap on “Save & Load”, tap on “Selection 4”, then go to “Transform” again, tap on “Flip Vertical”.
Flipping Selection 3 & Selection 4 vertically in the full drop repeat pattern
Continuing to Design the Pattern
Again, feel free to reposition the elements as you go,
You can now continue to design your pattern,
Make sure whatever you draw does not cross the edges of the canvas.
Continuing to design the full drop pattern
Flipping Selection 1 & Selection 2 Horizontally
Select both layers within the group, go to “Selections”, tap on “Save & Load”, tap on “Selection 1”, then go to “Transform”, tap on “Flip Horizontal”,
Go to “Selections” again, tap on “Save & Load”, tap on “Selection 2”, then go to “Transform” again, tap on “Flip Horizontal”.
Flipping Selection 1 & Selection 2 horizontally in the full drop repeat pattern
Continuing to Design the Pattern until Completion
Continue to design the pattern until the whole canvas is filled.
Continuing to design the pattern until it’s completed
Testing & Evaluating the Pattern
Make 4 copies of the original repeat and use them for pattern testing,
Go to “Transform”, make sure “Magnetic” and “Snapping” are toggled on,
Select each pattern copy in the “Layers” menu and shrink it to 1/4 of your canvas size,
In my case, my canvas size is 3000px by 3000px, I need to shrink each pattern copy to 1500px by 1500px,
You will see the size indication while you are shrinking the pattern copies, just look for the correct numbers,
And make sure you shrink each pattern copy to the 4 corners of your canvas respectively, including the top left corner, the top right corner, the bottom left corner, and the bottom right corner,
Zoom in to check along the middle horizontal line and the middle vertical line to make sure all 4 copies are perfectly matched,
I like doing a quick evaluation after I’ve made a pattern, to see if anything looks off,
To do that, I will turn off “Drawing Guide” so I can look at the pattern as a whole,
I will merge all 4 pattern copies as a single layer, so I can make some notes for myself,
I will circle the areas I would like to make adjustments, then save them as an image,
After deleting the pattern copies layer, I will go back to my original repeat file,
Bring up the image I just saved and place it side by side with Procreate, so I can make adjustments accordingly,
After that, I can test my pattern again.
Testing & evaluating the full drop pattern
Showcasing Your Pattern
Go back to your pattern file in Procreate,
Go to “Actions”, “Share”, “JPEG”, and save your repeat as an image,
Please note when showcasing your pattern online, do not show your original repeat,
Create a new file in Procreate and line up your repeats to make a new image, and sign it, then you can share that image online,
I will create a 4:5 file in Procreate to showcase my pattern, which is one of the post sizes on Instagram,
Go to “Actions”, “Add”, “Insert a photo”, choose the image you’ve just saved,
Do not resize the image, just move it to the top left corner,
Insert the image again, this time toggle on “Magnetic” and “Snapping”, and bring up “Distance” all the way to 50, so it’s easier for you to line up your repeats,
Then line up the two repeats on your canvas,
Zoom in to make sure they are connected perfectly,
Then insert the image two more times, line up the four repeats on your canvas perfectly,
Create a new layer to sign your name, save the file as an image, then you can share the image on Instagram.
Showcasing your full drop pattern
Watch the full tutorial here:
By using the same method, I also created a slightly complex full drop pattern with circles and dots, which you can view here:
Resources
To get you started making a full drop repeat pattern, I’ve prepared the full drop repeat pattern template in the following sizes (files open in Procreate):
In the template, I’ve set up the selections for flipping. You can just go straight into designing your full drop pattern, and then flip the selections as you need.
You can also download the color palettes I used in the tutorials (files open in Procreate):
I hope you will be inspired to make a full drop repeat pattern in Procreate.
Happy creating!


