Coffee & Tea Scenes Series in Procreate


Have you ever noticed that when posting images on social media, the recommended sizes or ratios are always different? Like Instagram prefers square images while Pinterest encourages your images to be cropped in a 2:3 or 3:4 ratio. I personally find it annoying. But if we see it from a different perspective, we can actually create art for these various aspect ratios.
And that’s how I came up with this Scene Series: we will explore the topic of coffee & tea by creating still life scenes in 3 different compositions: 1:1, 3:4, and 9:16. It’s a way to practice designing for the composition/aspect ratio.

About the Coffee & Tea Scenes Series
Inspiration
I have put together the following Pinterest board with lots of coffee and tea items to give you ideas for your illustration. If you have coffeeware and teaware at home, feel free to draw your own, it will be more fun.

Drawing Coffeeware & Teaware
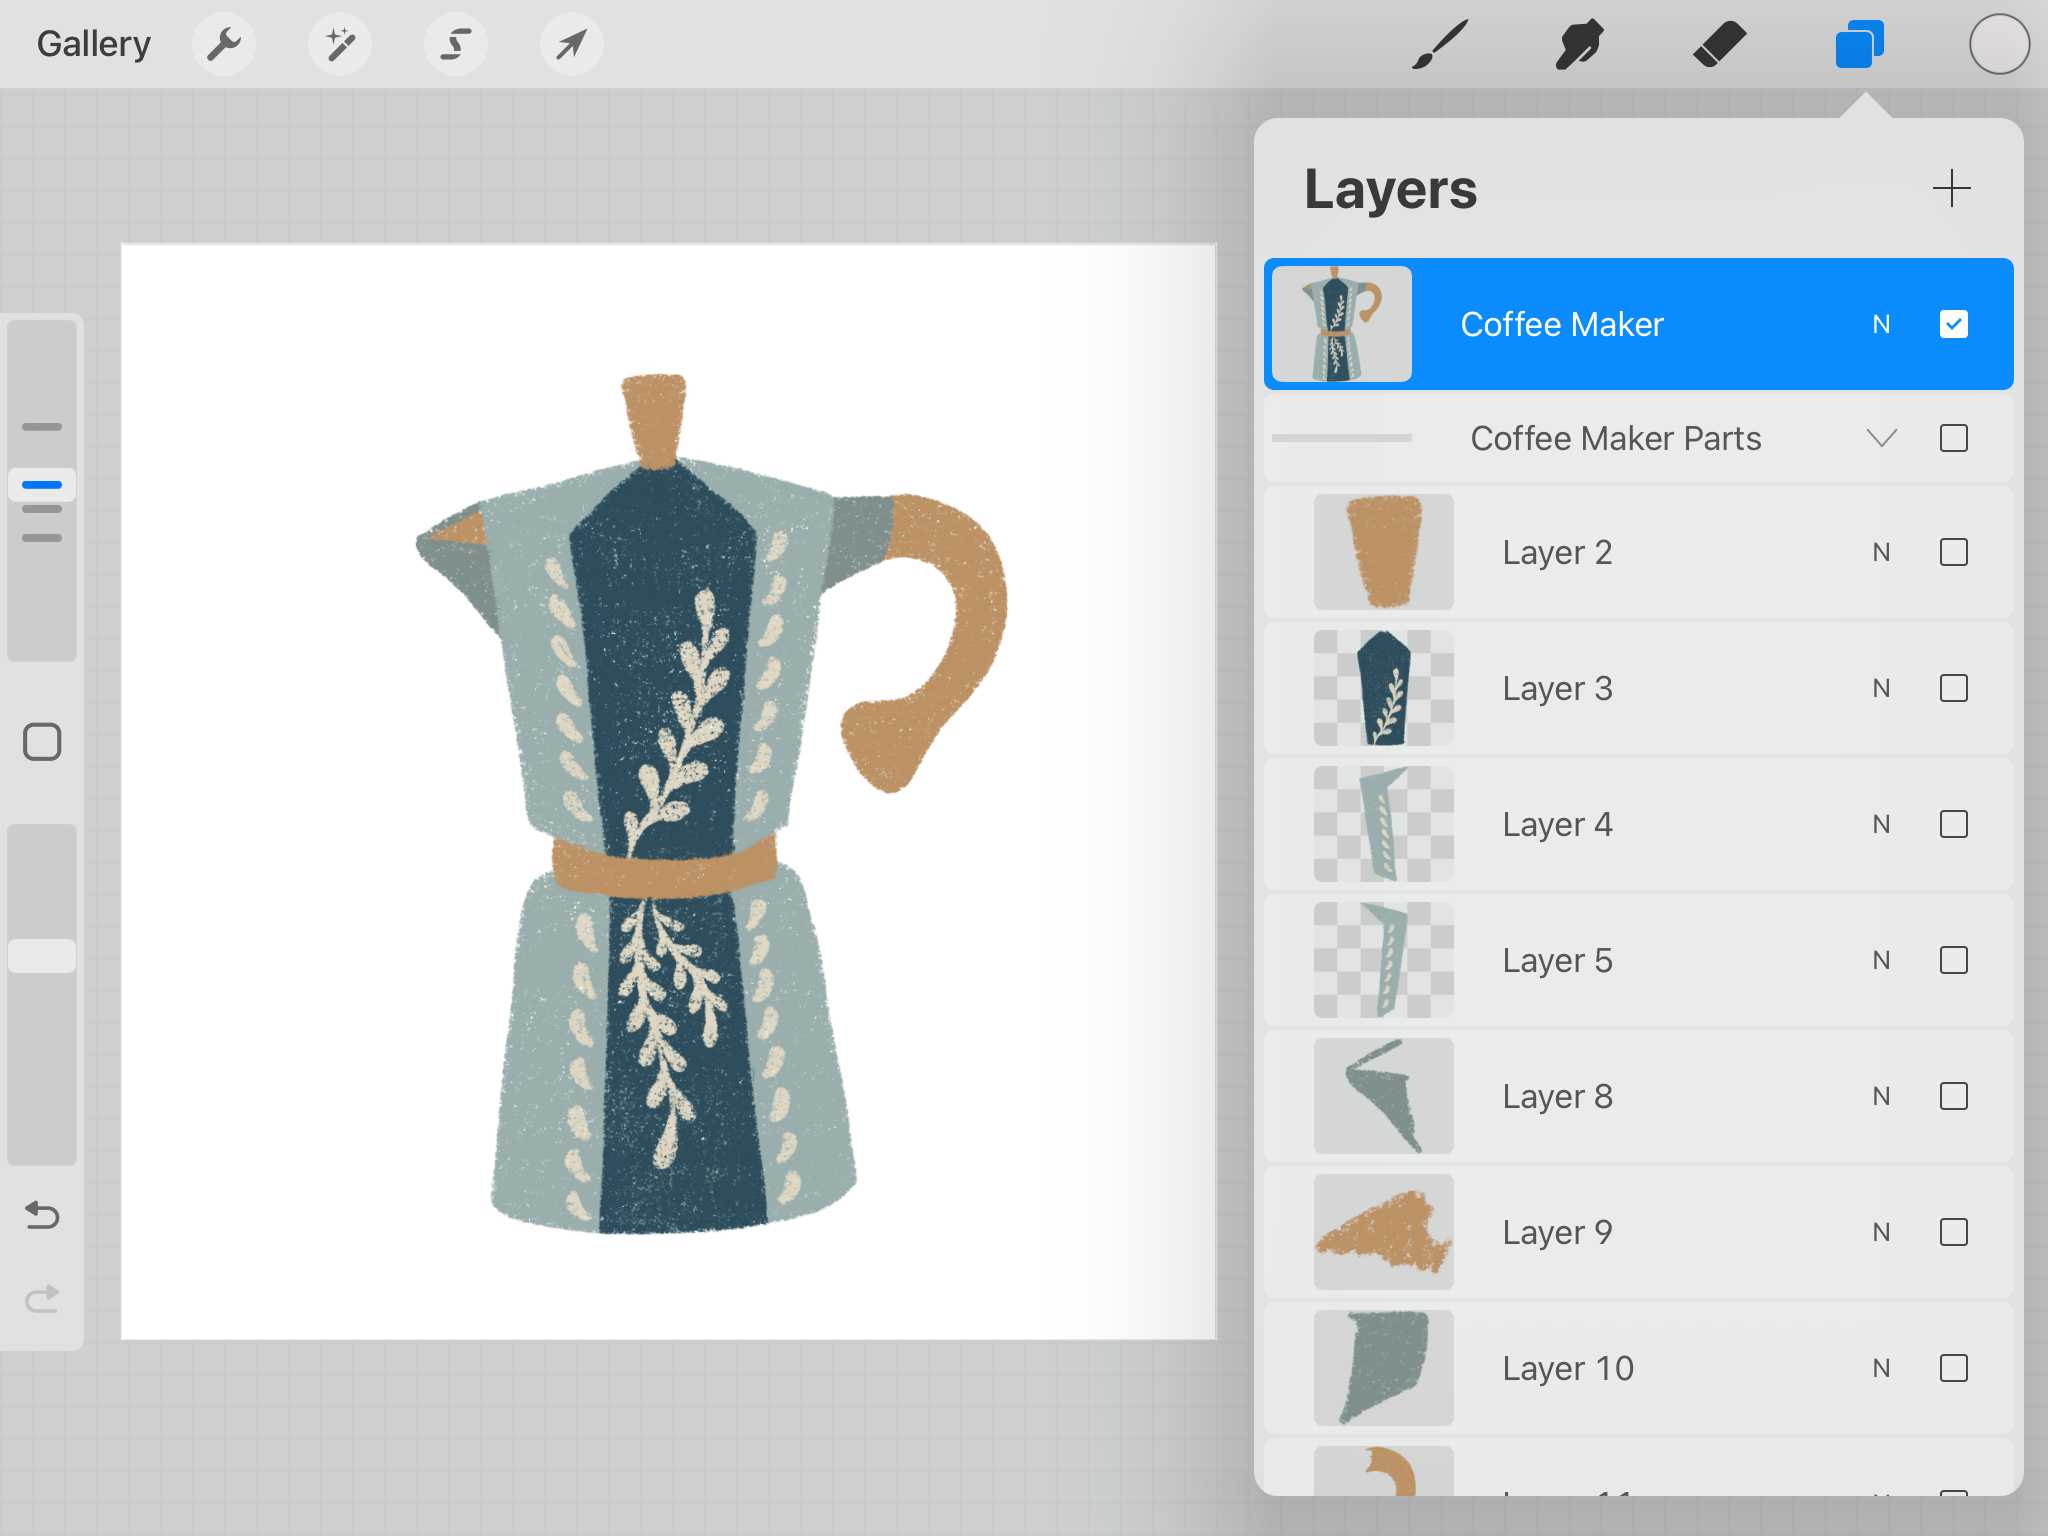
I suggest you start the practice by drawing lots of coffee and tea items and equipment and drawing them in separate files in Procreate. Because when we create the scenes later, we will drag and drop each of these items into a new canvas and place them properly.
See my examples to draw a coffee mug, a coffee maker, a teapot and a teacup in the following tutorials:


You can see for each item that I’ve drawn, I grouped all the layers and duplicated the group. Then I flattened the duplicated group to merge everything into a single layer (see the image below). It just makes things easier when we do the dragging and dropping later on in the scene creation.
Using the "Group", "Duplicate", and "Flatten" functions in Procreate
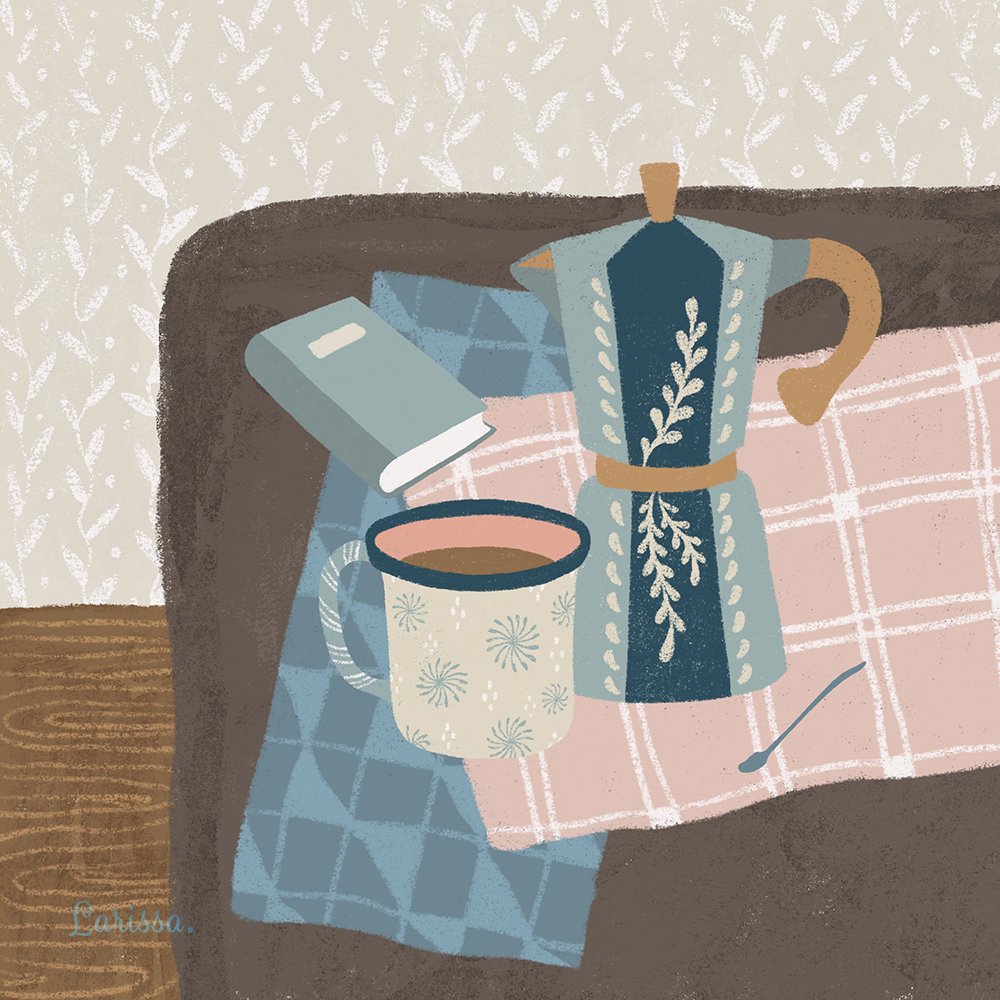
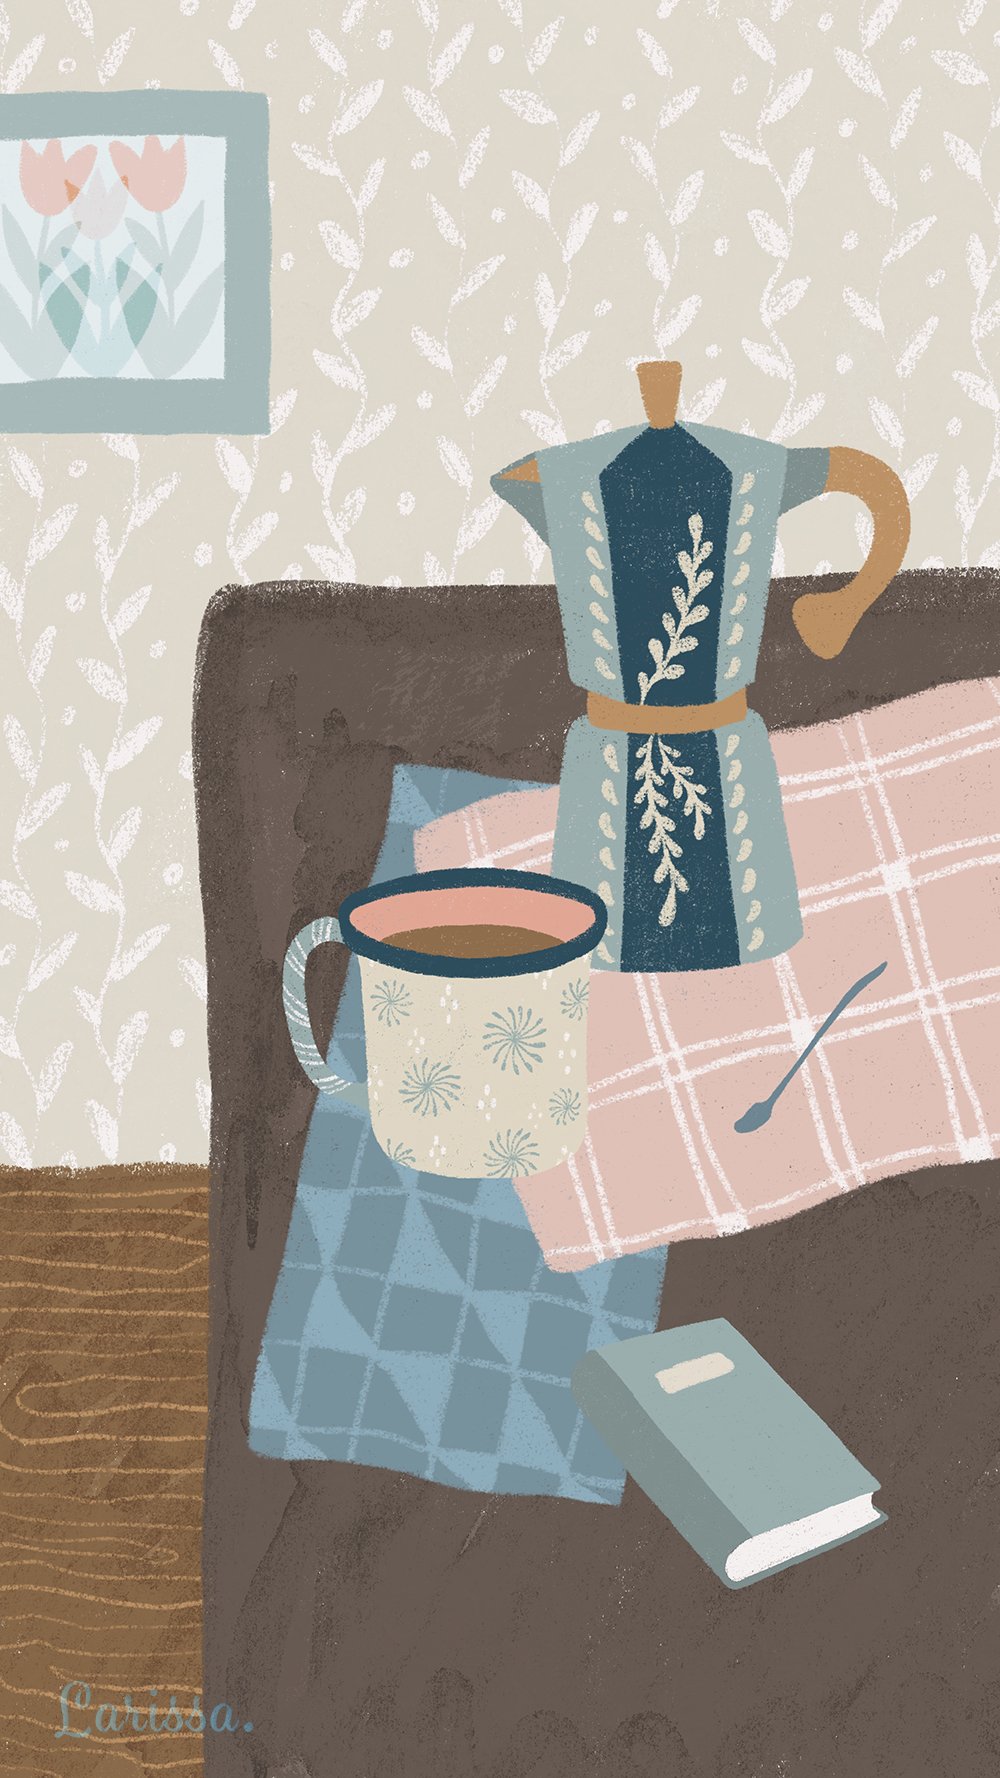
Creating Coffee Scenes
As I mentioned above, I encourage you to draw many coffee and tea items before creating the scenes. The more items you draw, the more interesting your scene will be, because you have a lot of assets to place around. And since I’ve only drawn a coffee mug and a coffee maker, I needed to draw more stuff for my coffee scenes. Eventually, I created the following selection of goodies:

Coffee item drawings by Larissa
The next step is to arrange all these items in the 3 compositions: 1:1, 3:4, and 9:16. I drew a table, a floor, and a wall as the same background across the 3 compositions but resized them accordingly. Placing the items in the scenes is fun because it teaches me to think for the space.
PLEASE NOTE: When placing all the items into a new canvas, do not size them up. Size them down is ok. This is because we are working with raster images in Procreate, meaning the images formed by tiny pixels. One thing about raster images is that they become blurry when stretched beyond their actual size. If you really need to size up your drawing, redraw it on a bigger sized canvas.
See how I created these coffee scenes in the following tutorial:
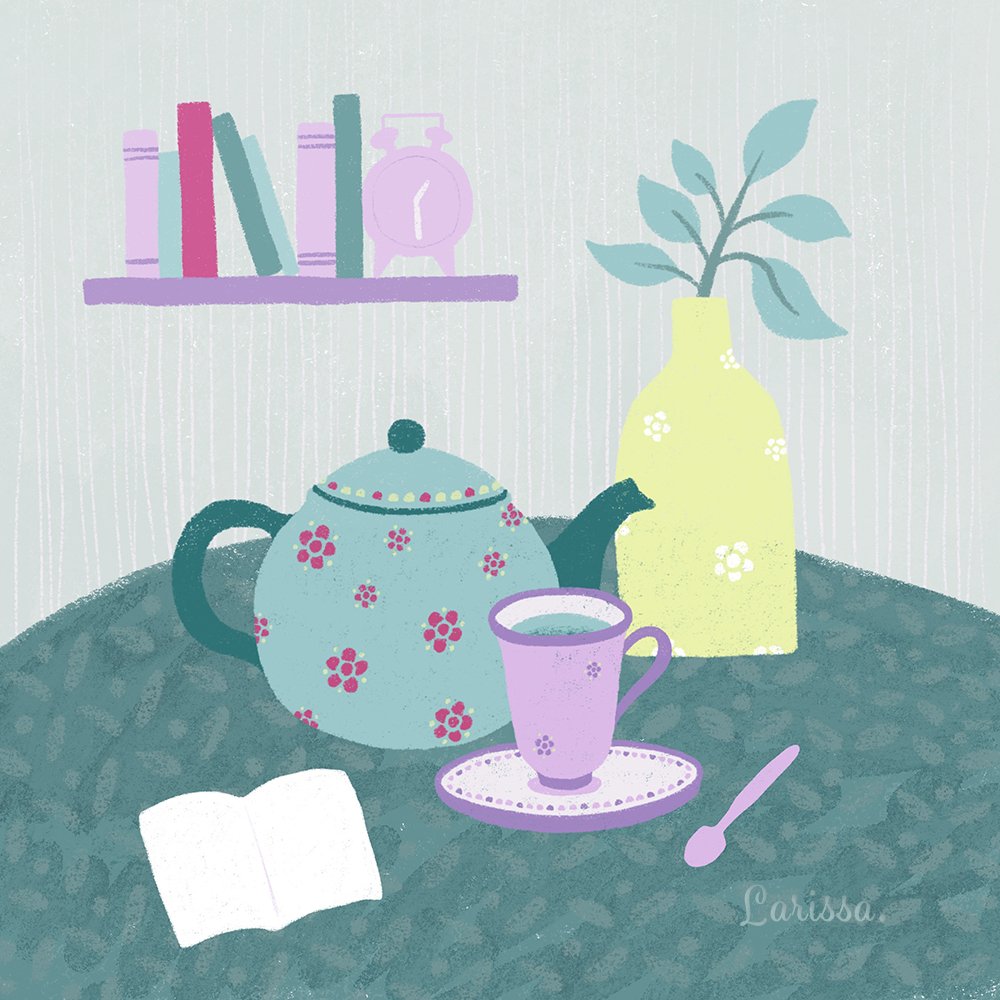
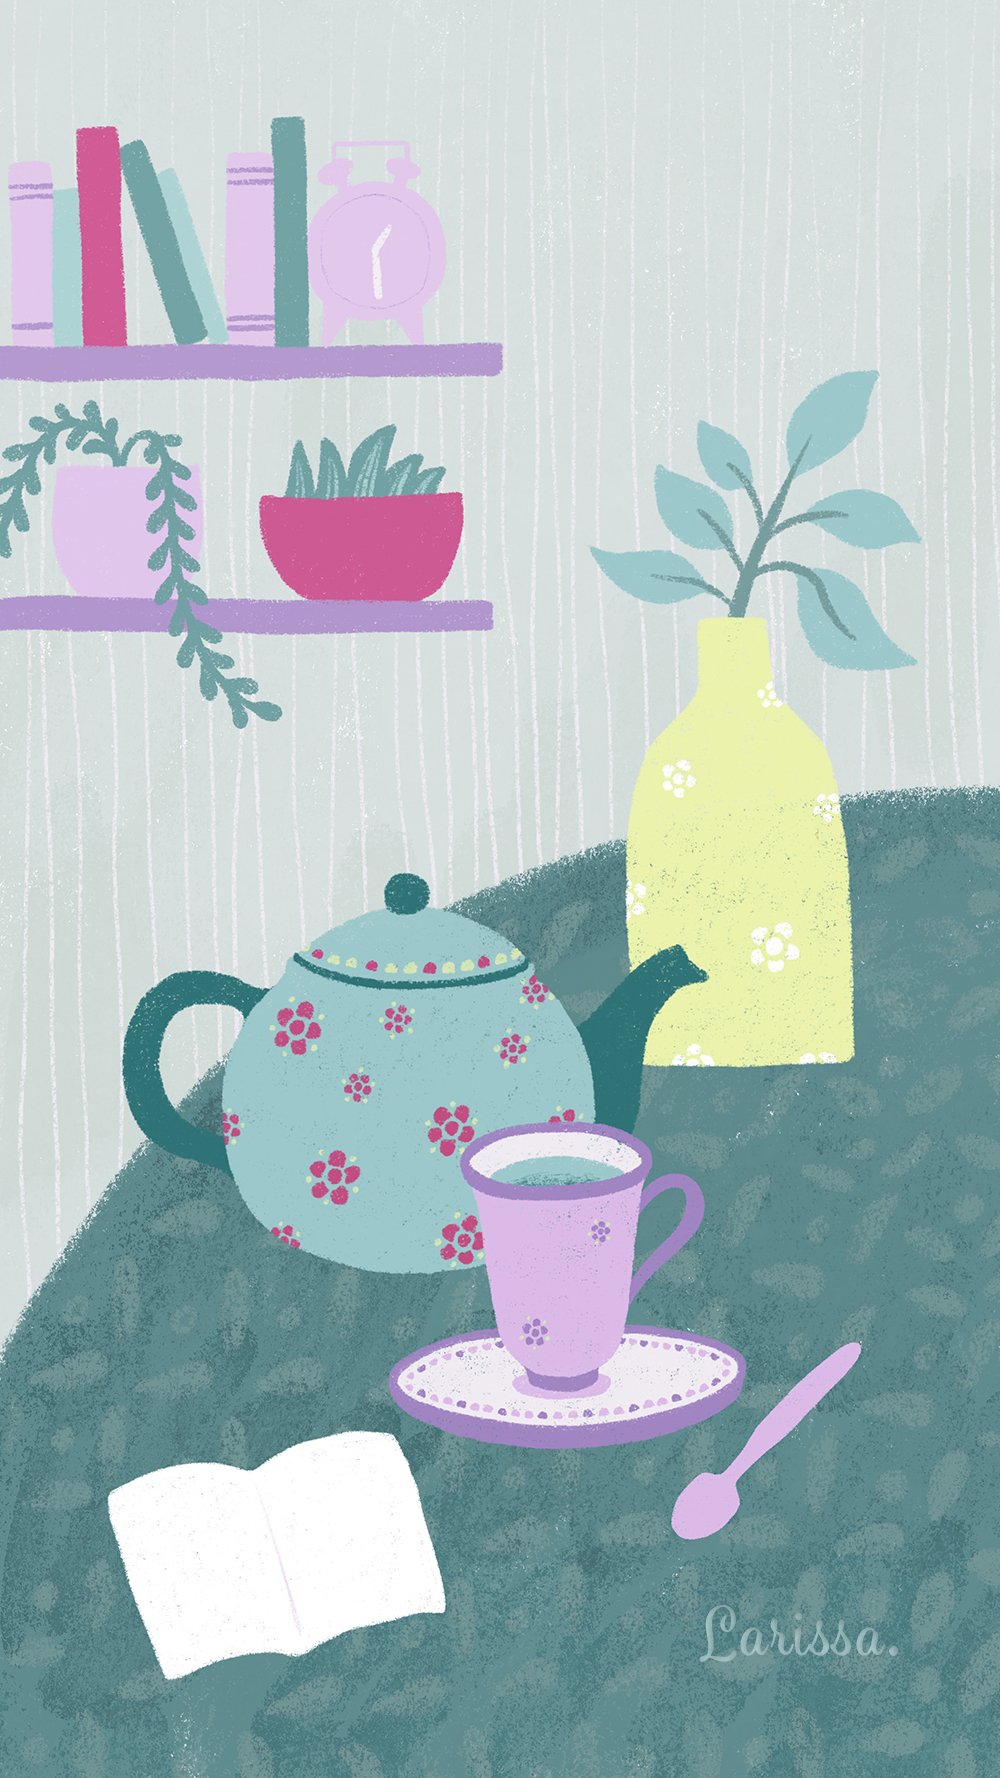
Creating Tea Scenes
I have created the following selection of goodies for my tea scenes:

Tea item drawings by Larissa
After that, I just used the exact same method to create a tea scene in 3 different compositions: 1:1, 3:4, and 9:16. This time, I drew a table and a wall as the background for the scenes.
See how I created these scenes in the following tutorial:
I used the following color palettes for this Scenes Series:

Coffee Scenes Palette

Tea Scenes Palette
You can download these color palettes by clicking the below button. The files open in Procreate.
I hope you will be inspired to create your own coffee and tea scenes!
Happy creating!