Abstract Watercolor Painting in Procreate
Painting digitally is actually fun. I know it’s different from holding a paintbrush to paint. But it’s fascinating to experience painting on a device. And Procreate is the perfect medium to do it.
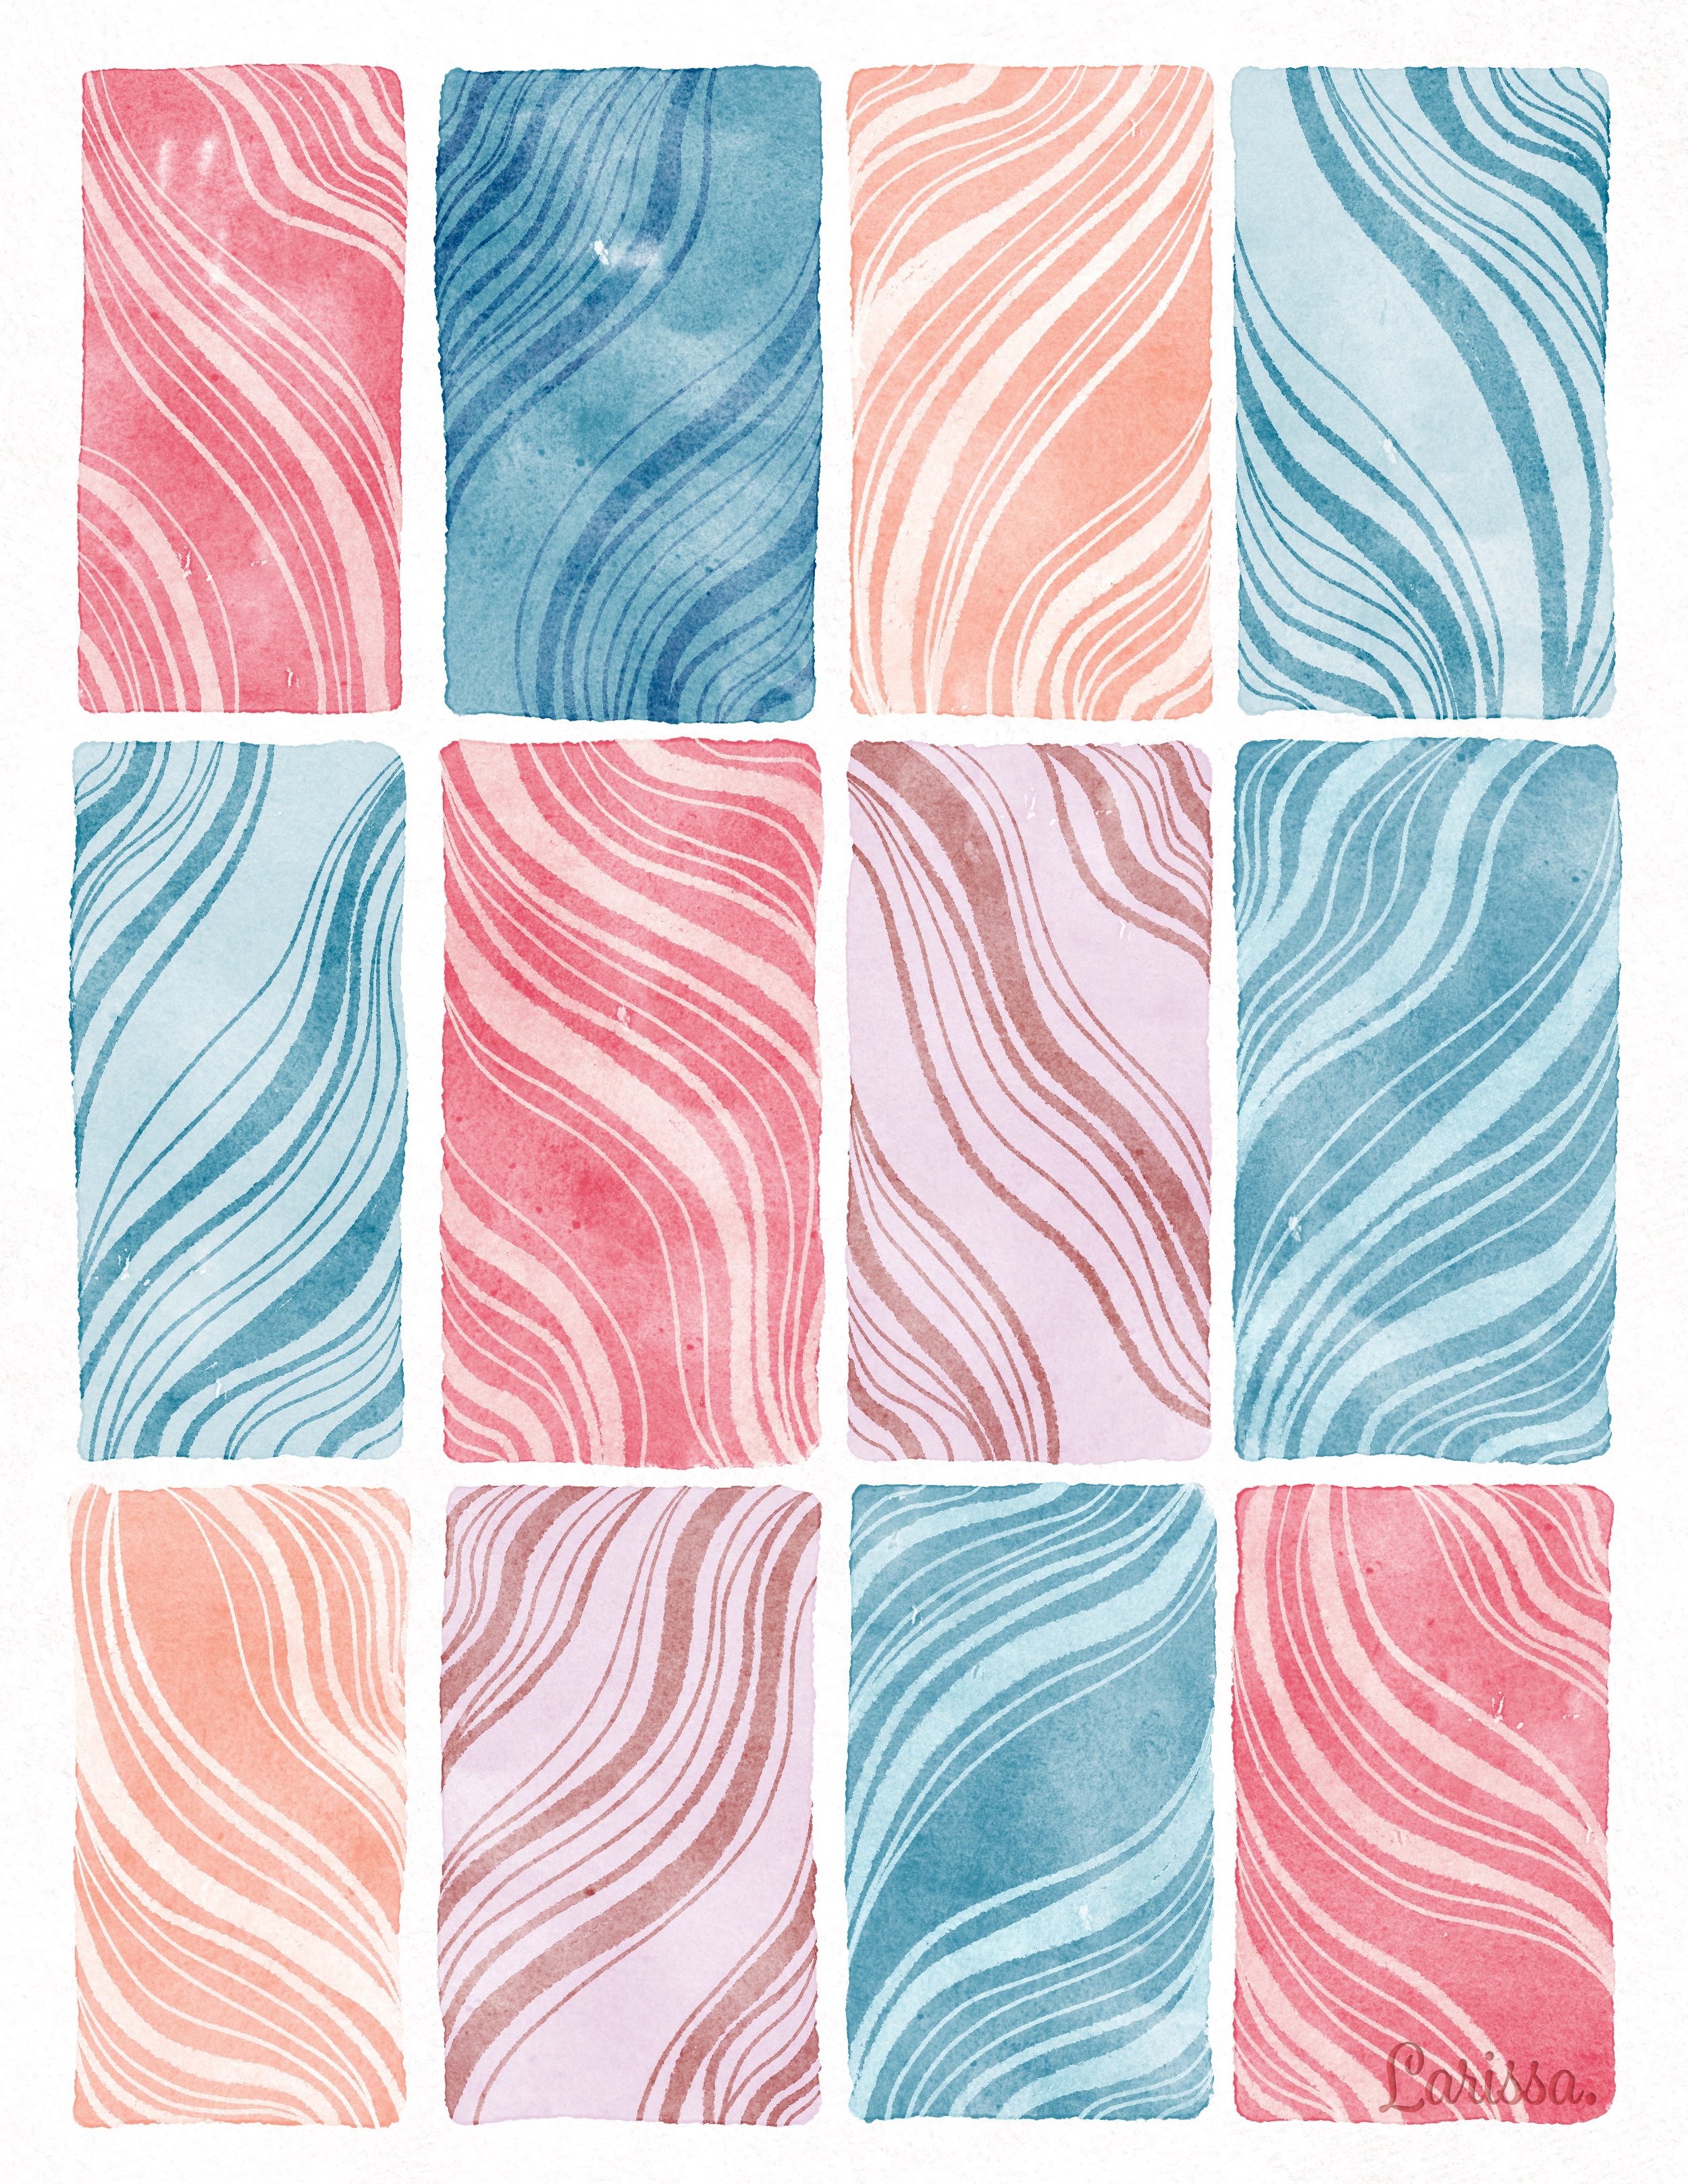
In this tutorial, I chose to experience watercolor painting in Procreate with simple lines and shapes. By playing with the blend modes, I was able to create a unique visual effect on each section of the painting while achieving overall harmony.
Step 1
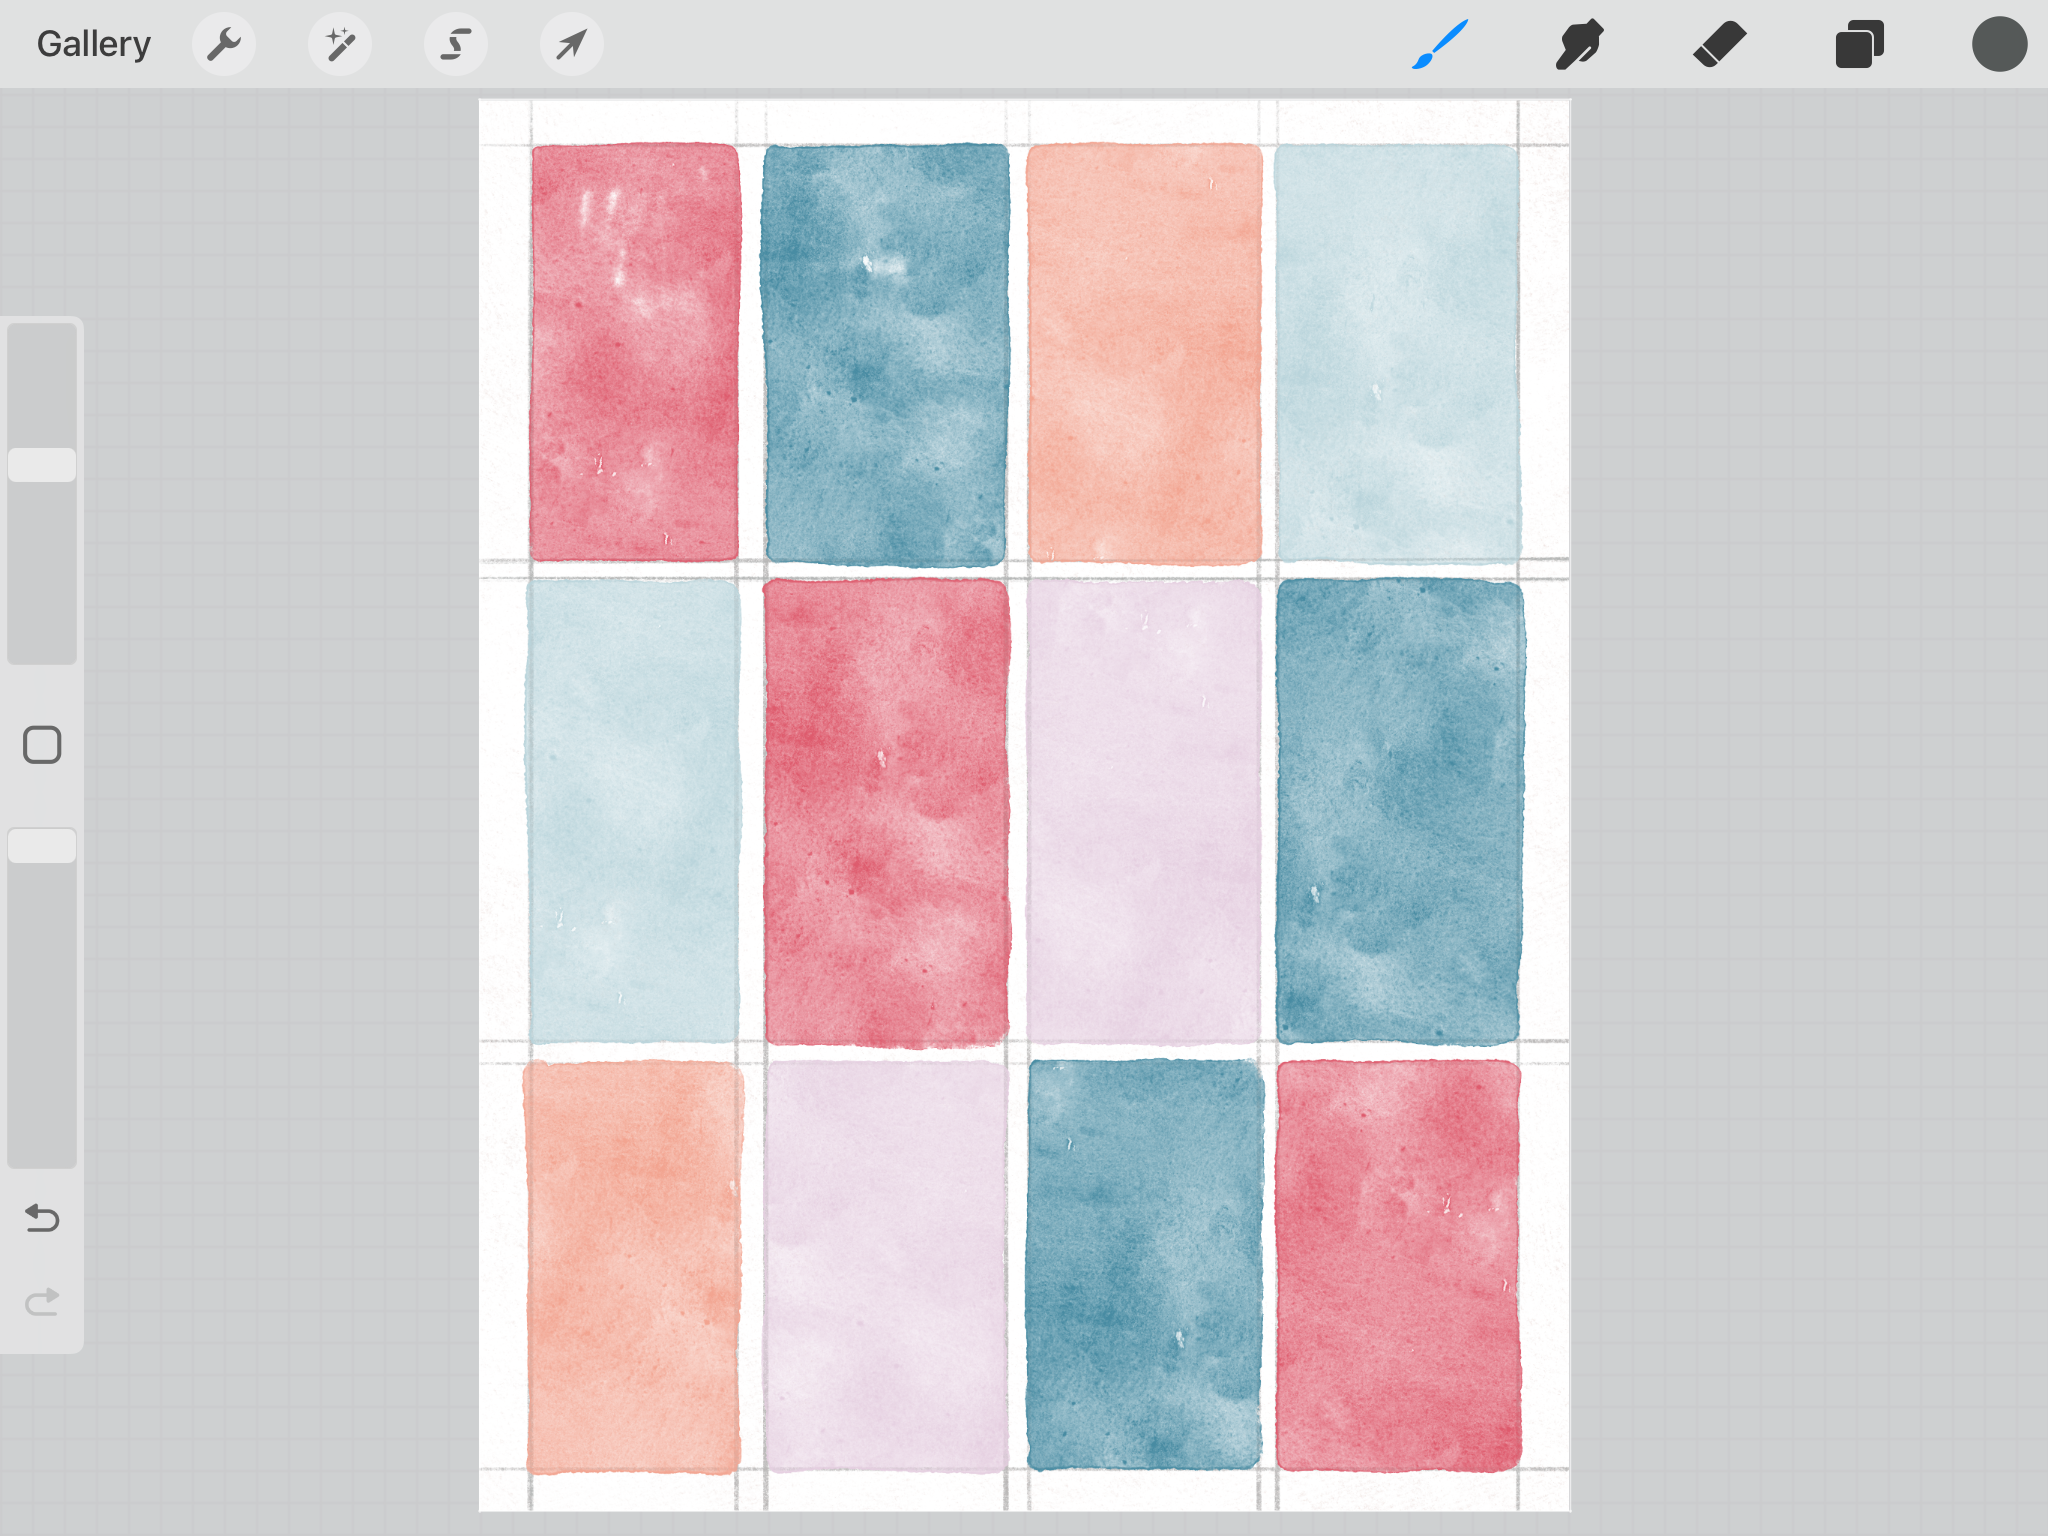
Create a new canvas in Procreate: 8.5’’ × 11’’. Then sketch the shapes you want to paint.
I have created a paper-textured background and a guide to paint on. You can download them by clicking the following buttons. But feel free to create your own guide and background paper to make this exercise more interesting.
Step 2
Create a new layer to paint the shapes according to the guide.
Step 3
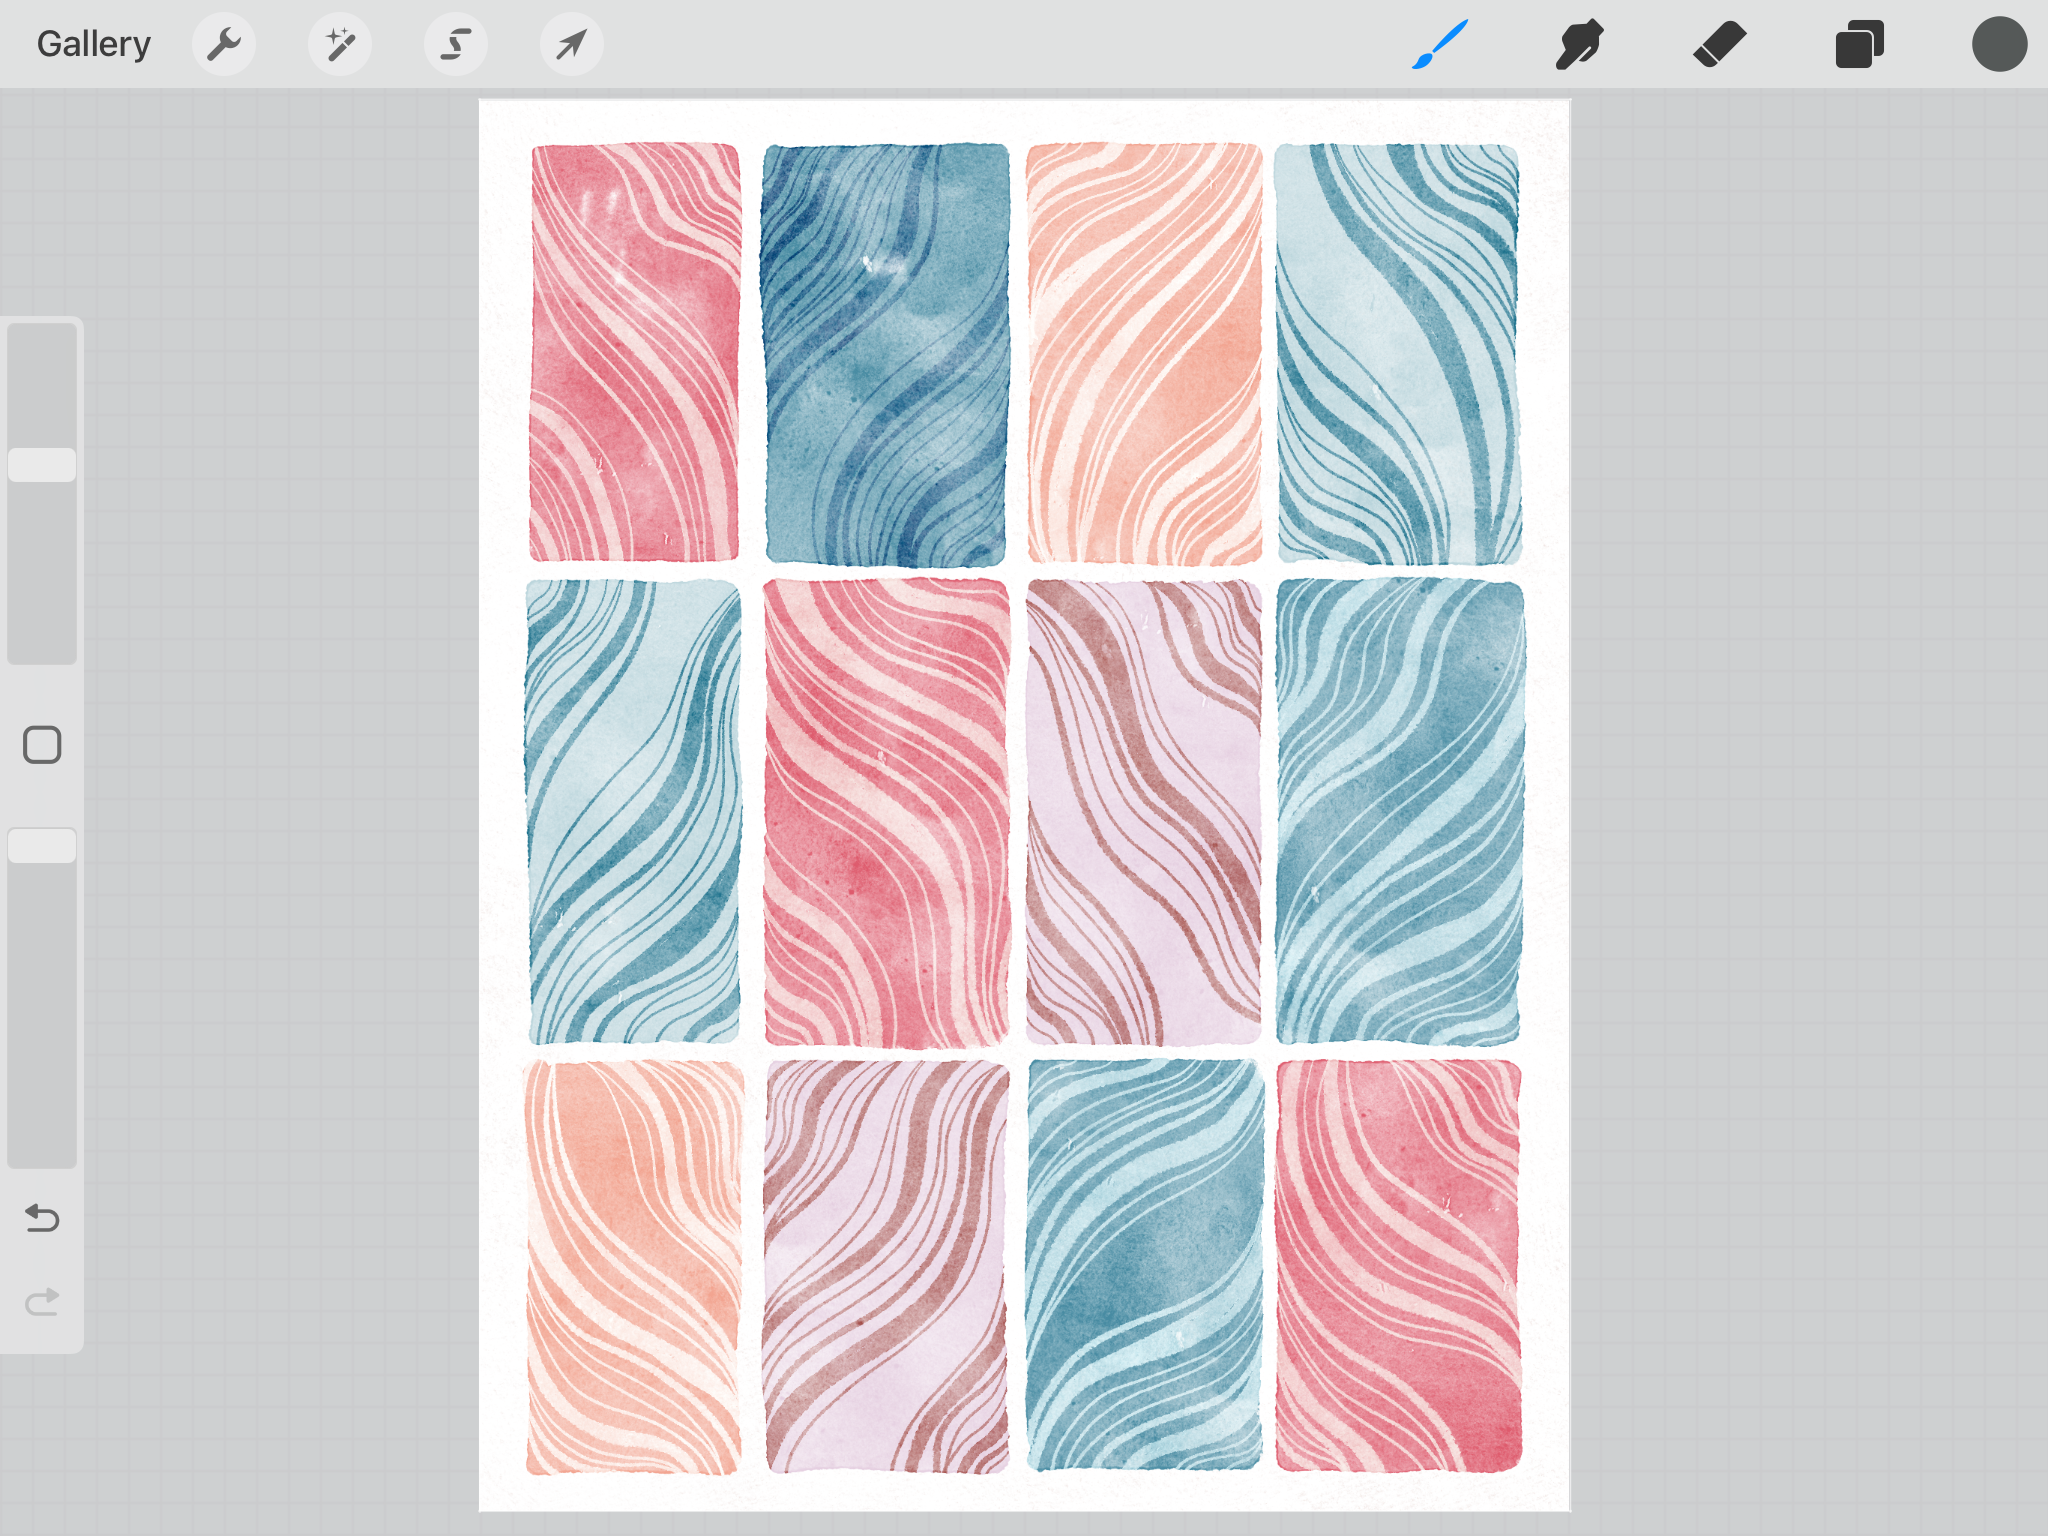
Create a clipping mask to paint lines on top. In this tutorial, I created a clipping mask for individual shapes, because I wanted to explore different blend modes. You may want to do the same, or you can just create a layer of clipping mask for all the shapes.
Enjoy the tutorial and if you haven’t done painting in Procreate before, give it a try.
Happy creating!


