Making Stamp Brushes in Procreate: Block Print Version
I was inspired by block printing lately and fascinated to see artists carving out stamps and applying ink on them to create gorgeous printmaking pieces. So I was tempted to create block print designs digitally.
After making a few practice designs in Procreate, I realized I can actually turn my block print designs into stamp brushes, just like physically carving out stamps and using them to make multiple prints. Therefore, I created two block print designs and used them to make two stamp brushes in the following tutorials:
Making a Stamp Brush in Procreate
See below my process of making a stamp brush using a block print design I made in Procreate.
Create a new canvas of 3000px by 3000px at 300dpi,
I use the Mercury brush from the Inking brushset in Procreate to draw a flower shape,
I use pure black as the color for my design, given that I will turn the design into a brush later,
Now let’s carve out some details on the flower shape, and I will use layer mask to do that,
To activate layer mask in Procreate, tap on the parent layer (referring to the flower shape layer in my case), then choose Mask,
On layer mask, use pure black to hide parts of the parent layer, while using pure white to reveal parts of the parent layer,
I used pure black on the layer mask to create details on the flower shape,
When finished creating the design, double check that your design is in pure black, and its background is in pure white,
Then save your design as a JPEG,
I’ve created a stamp brush template, which can be downloaded here (the template is inside the brushset file and it opens in Procreate),
Tap on the template to see all its features,
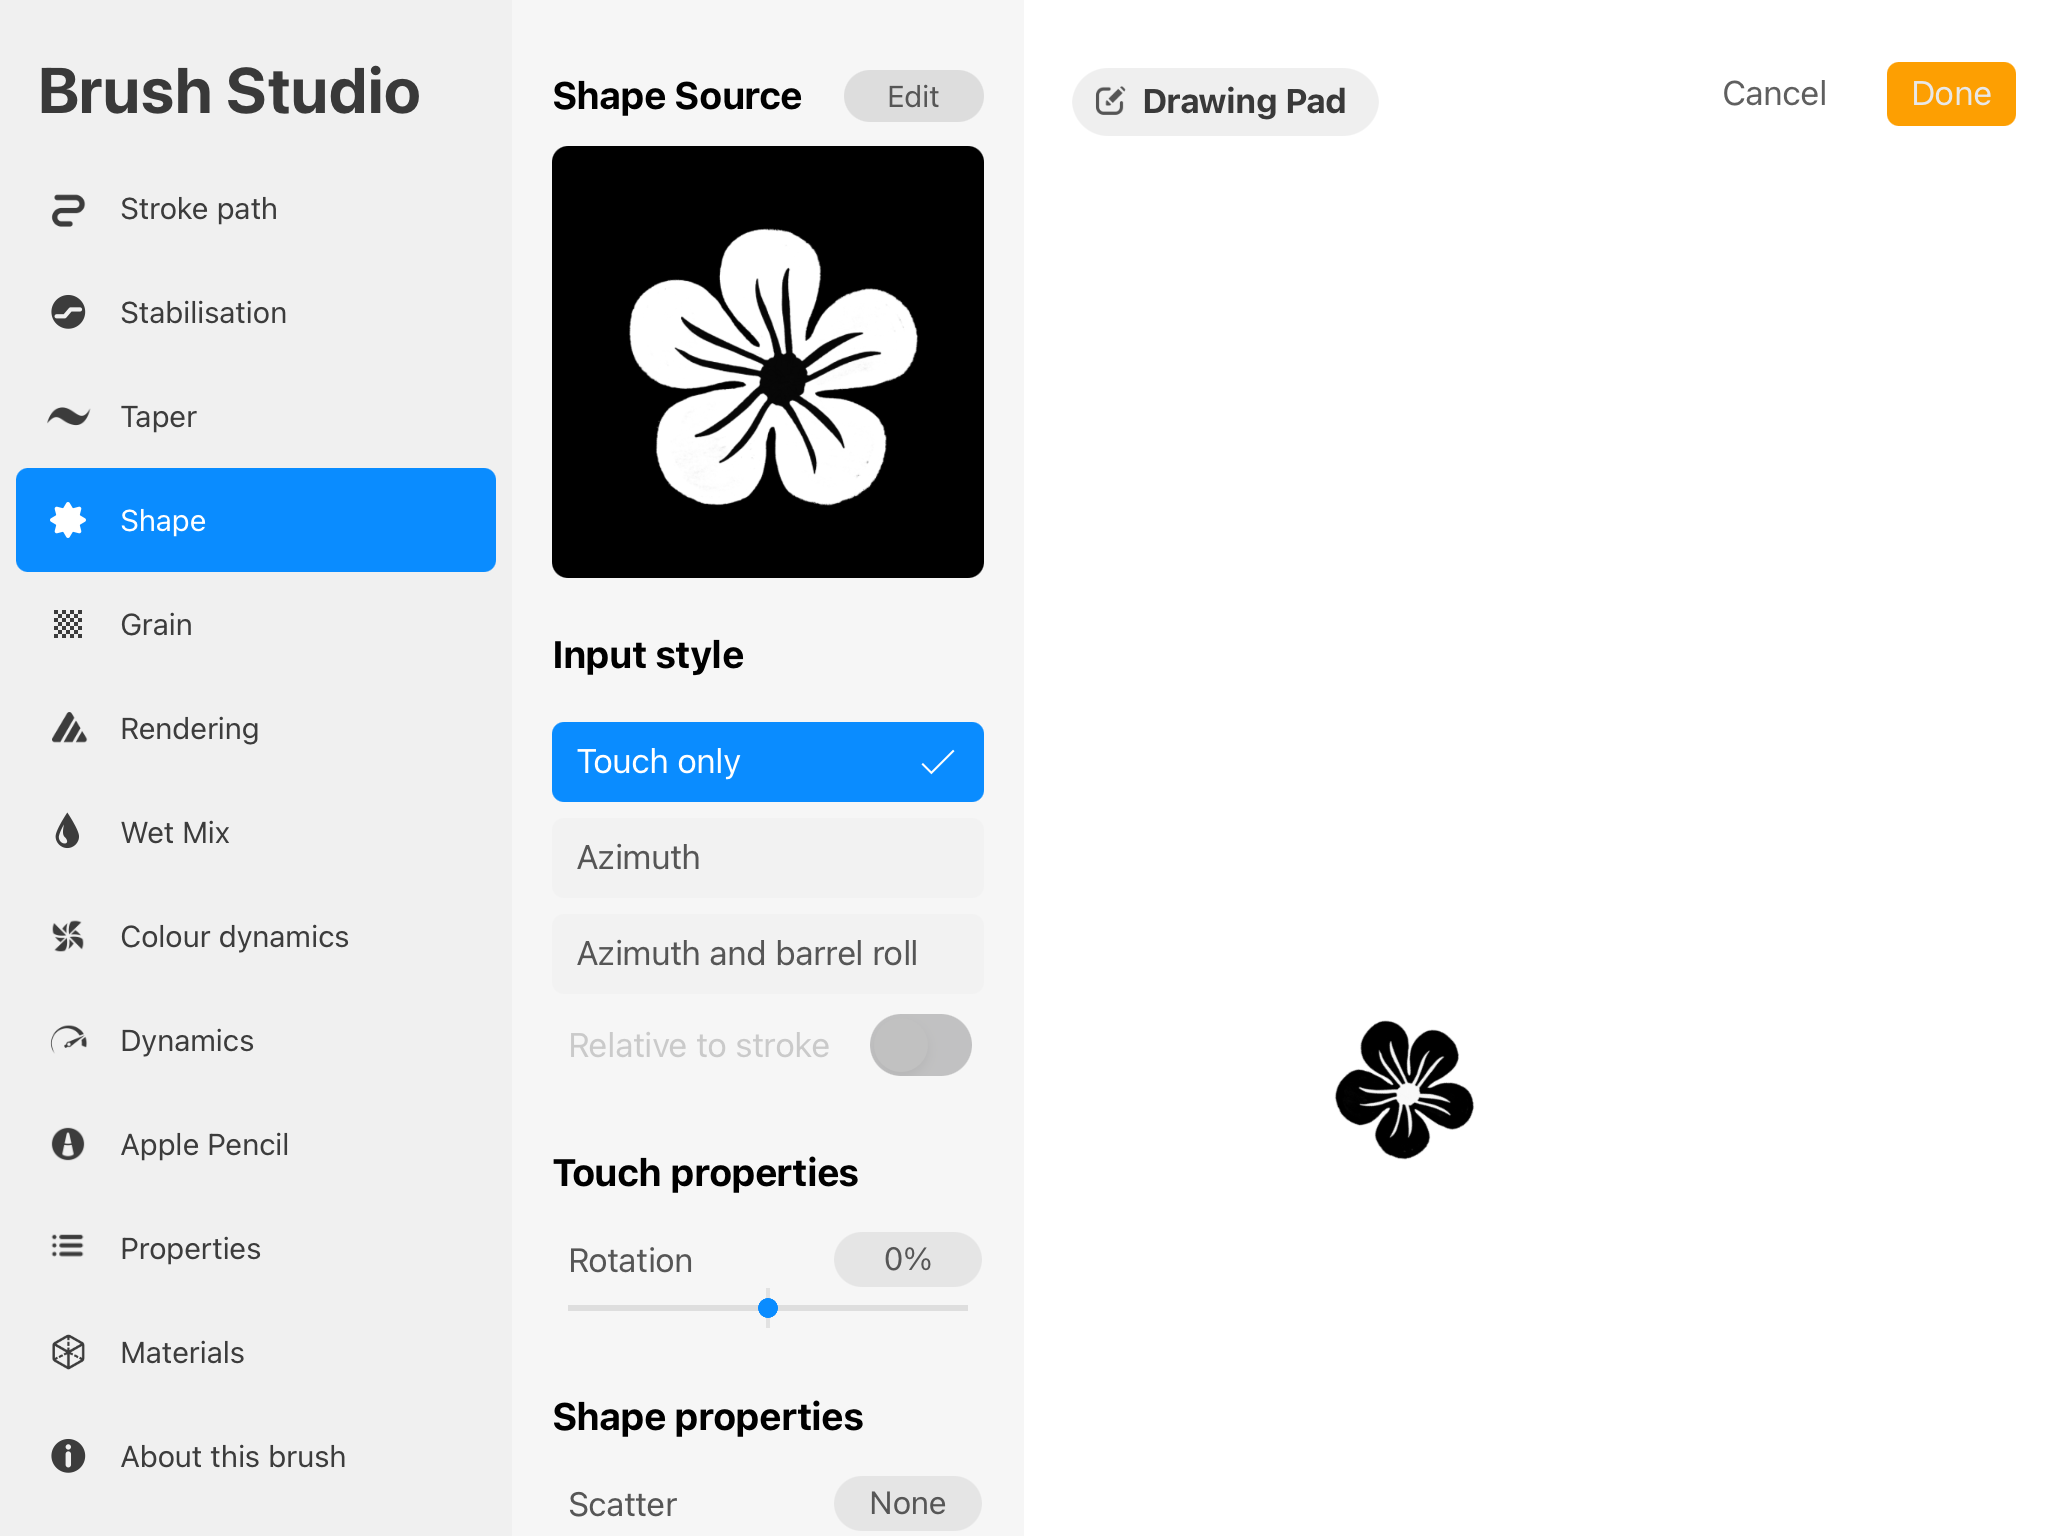
Go to Shape, import the image we just saved as the shape source,
And remember to go to About this Brush, give your brush a name, and also sign your name as the creator. The stamp brush is now complete.
Stamp Brush Settings
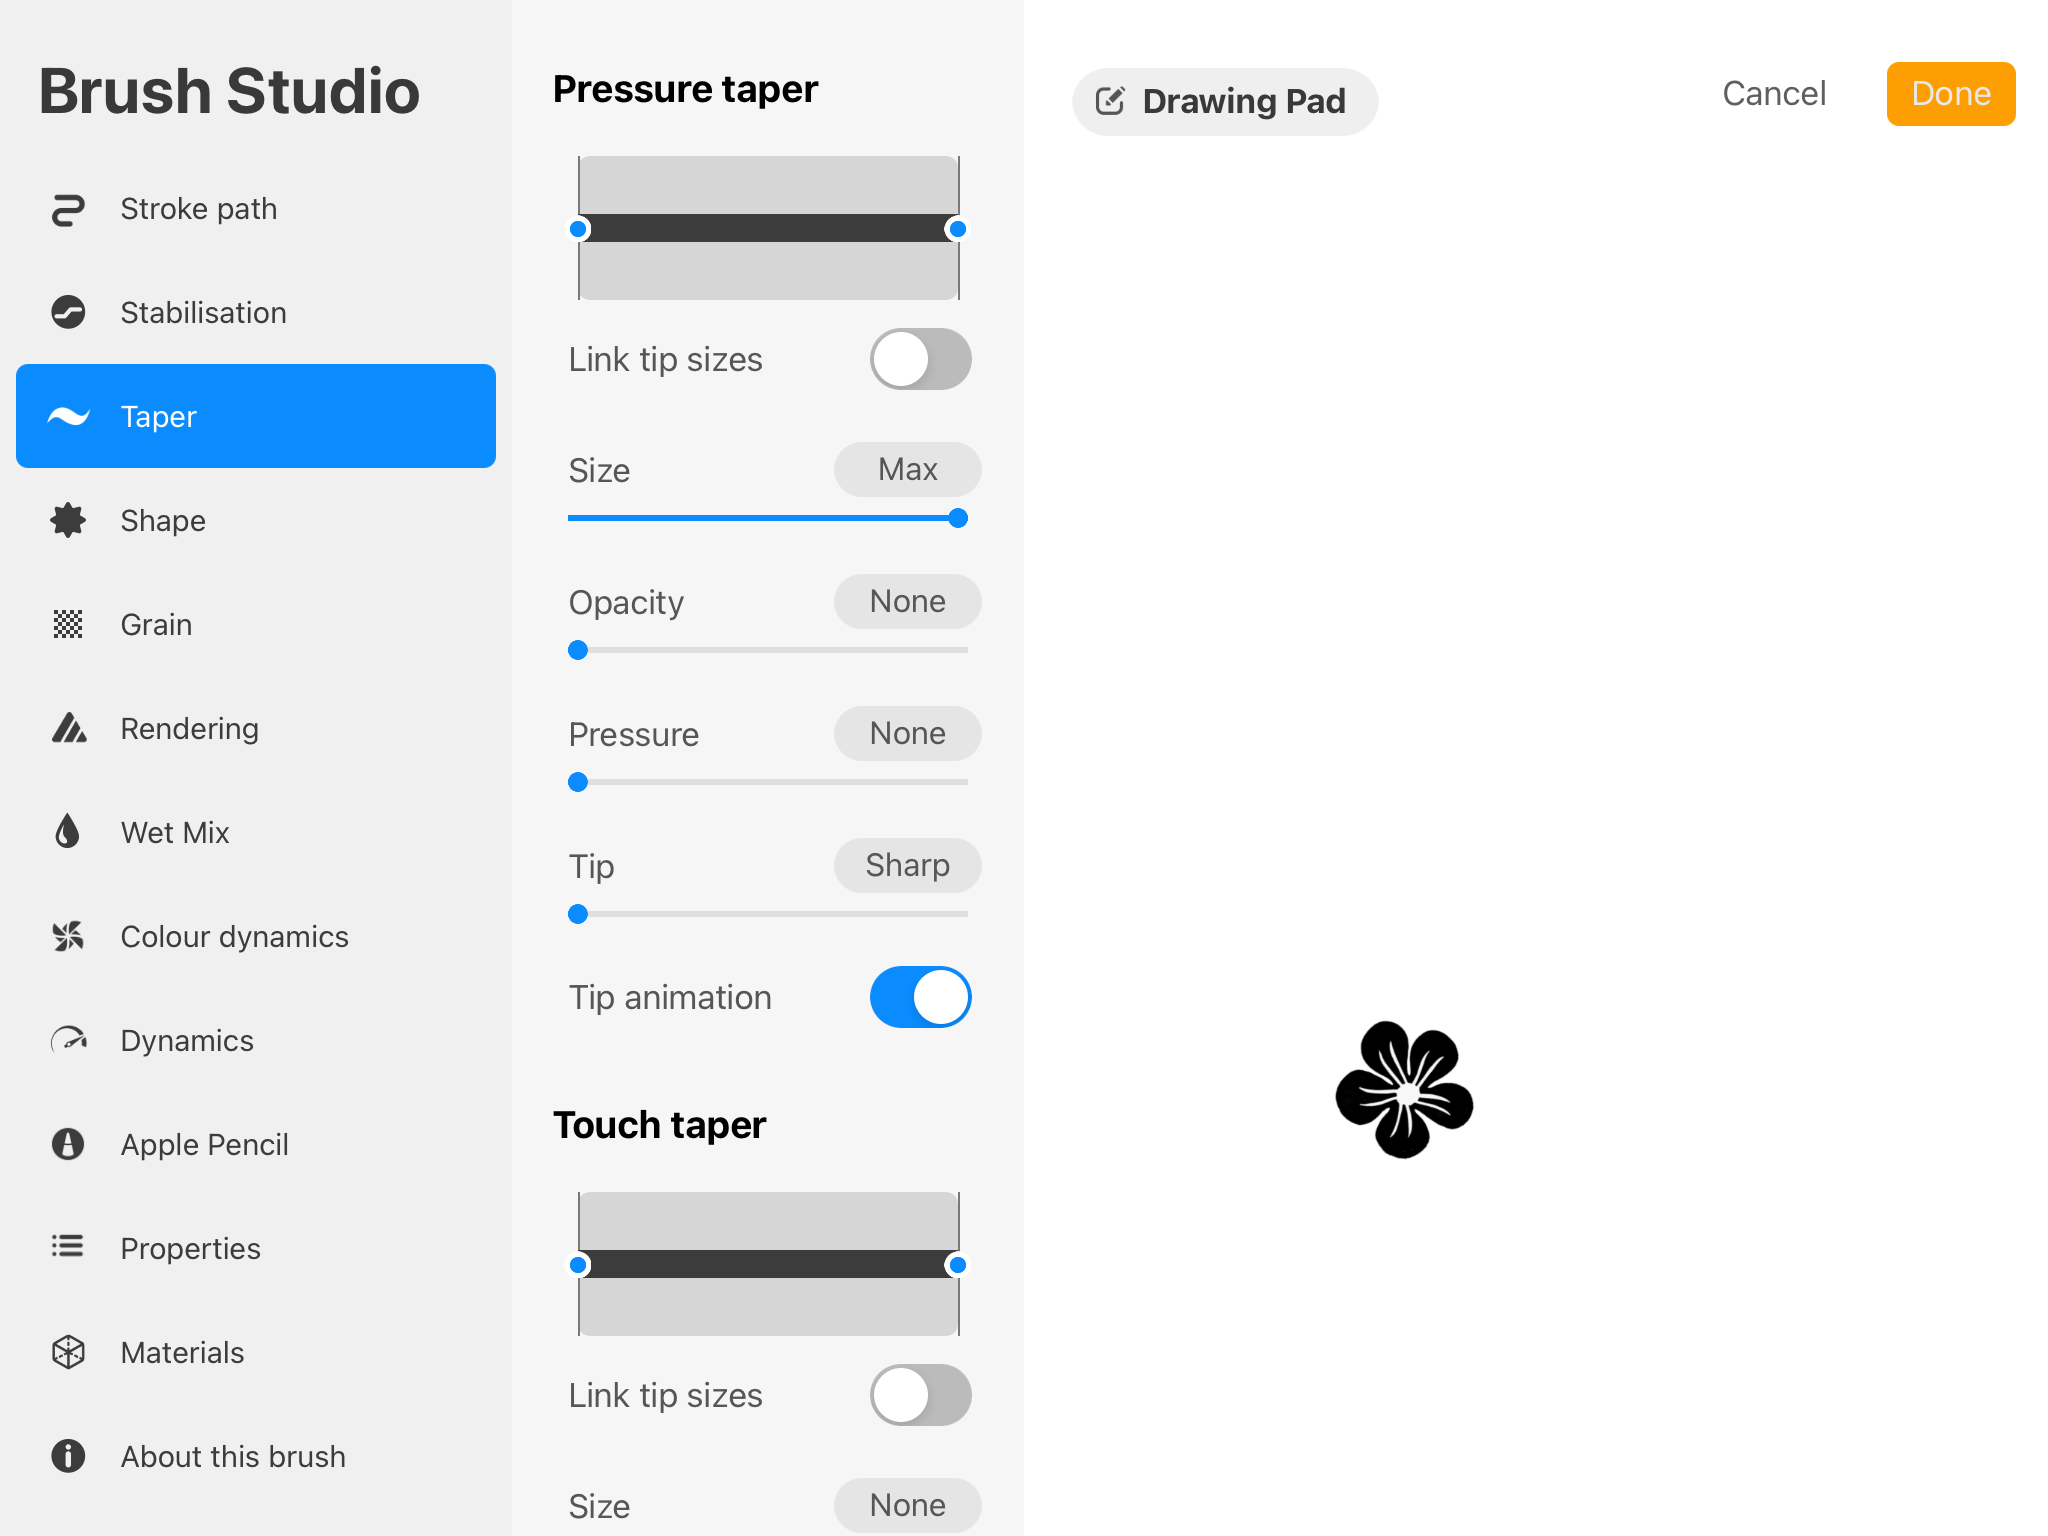
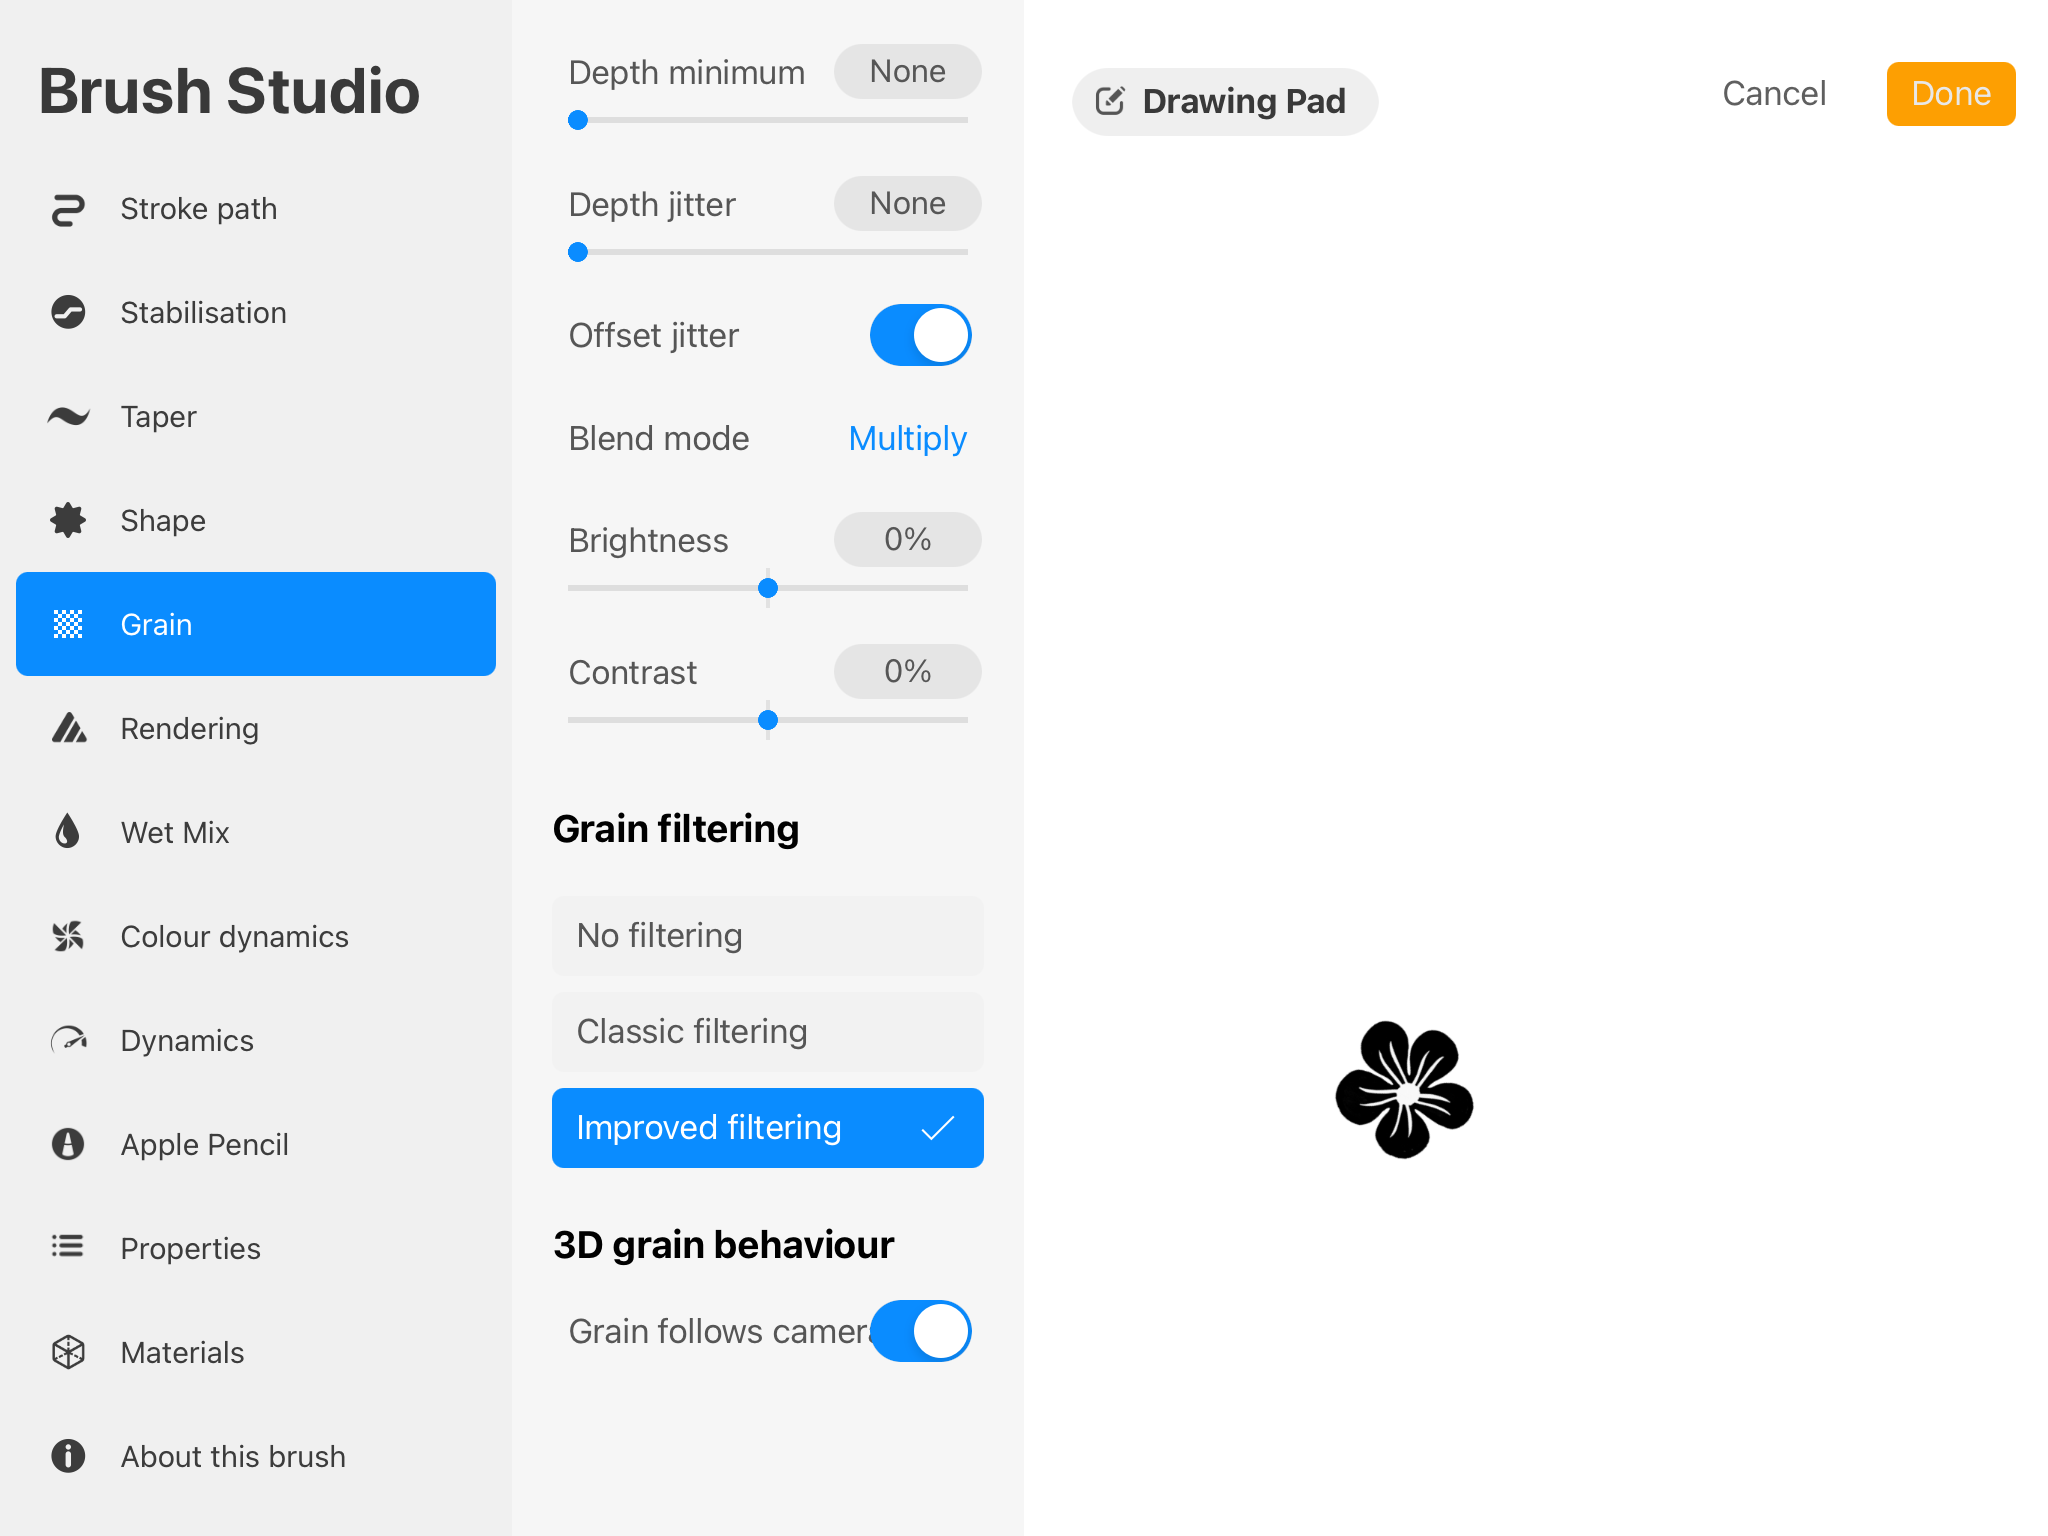
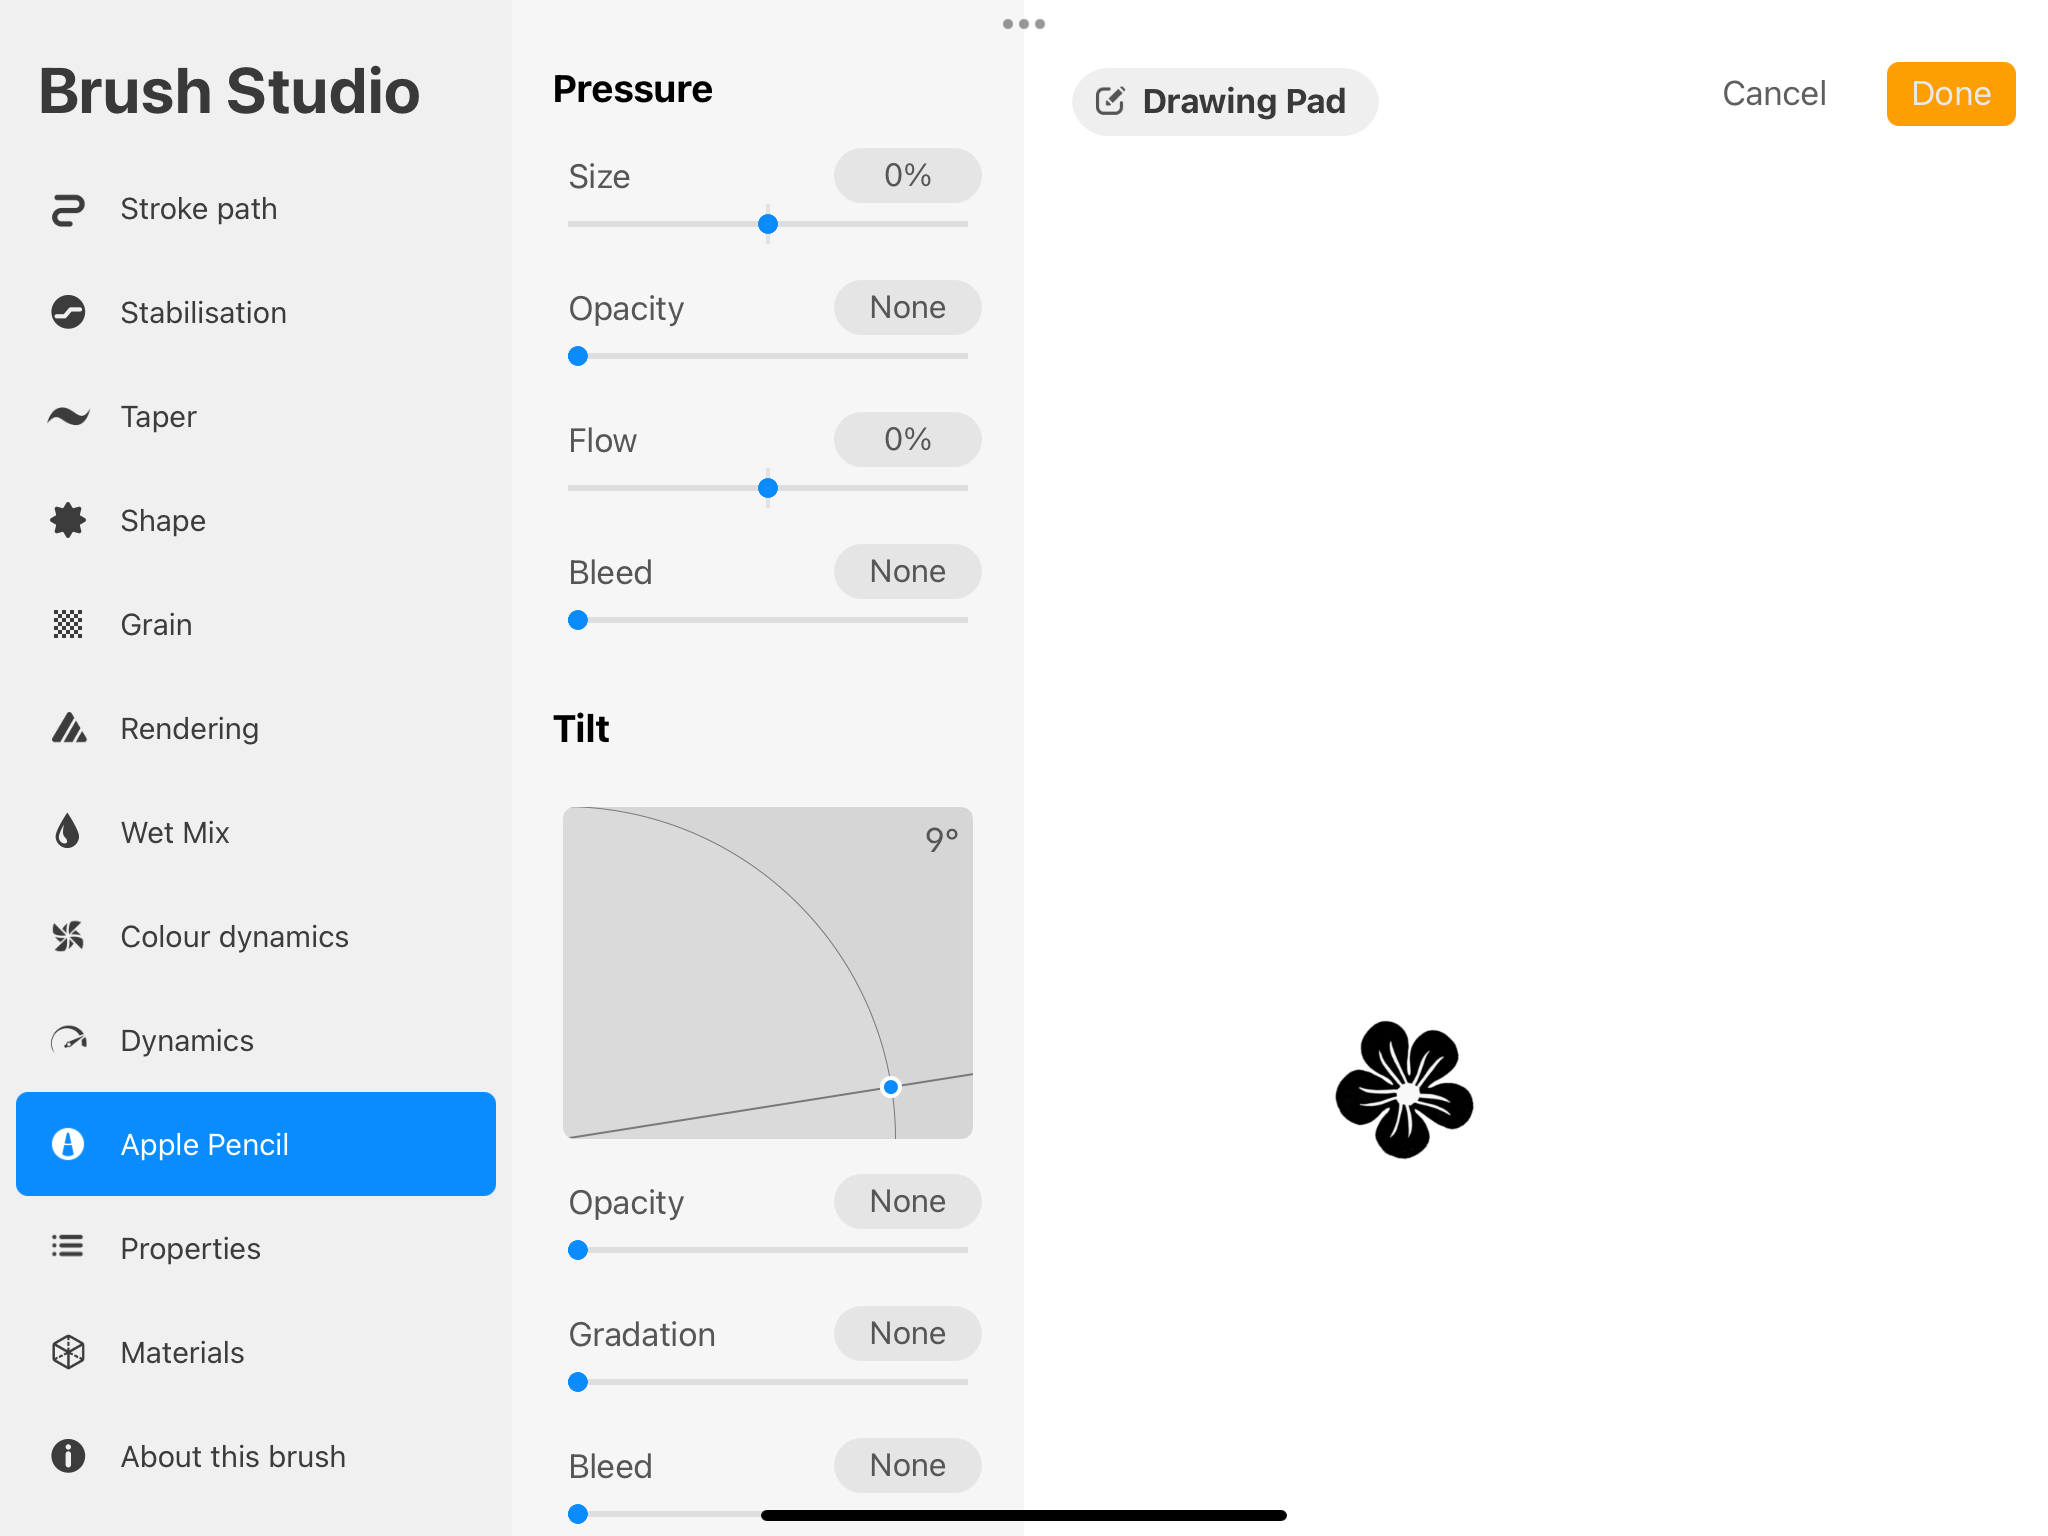
If you want to make a stamp brush from scratch rather than using my template, take a look at the following settings in my stamp brush. You may want to adjust some of these settings to further customize your stamp brush.
Stroke Path Settings
Stabilization Settings
Taper Settings
Shape Settings
Remember to import your design as the shape source in the Shape section. If your design shows up as black ink with a white background, use two-finger tap once on the image to turn it into white ink with a black background.
Grain Settings
Rendering Settings
Wet Mix Settings
Color Dynamics Settings
Dynamics Settings
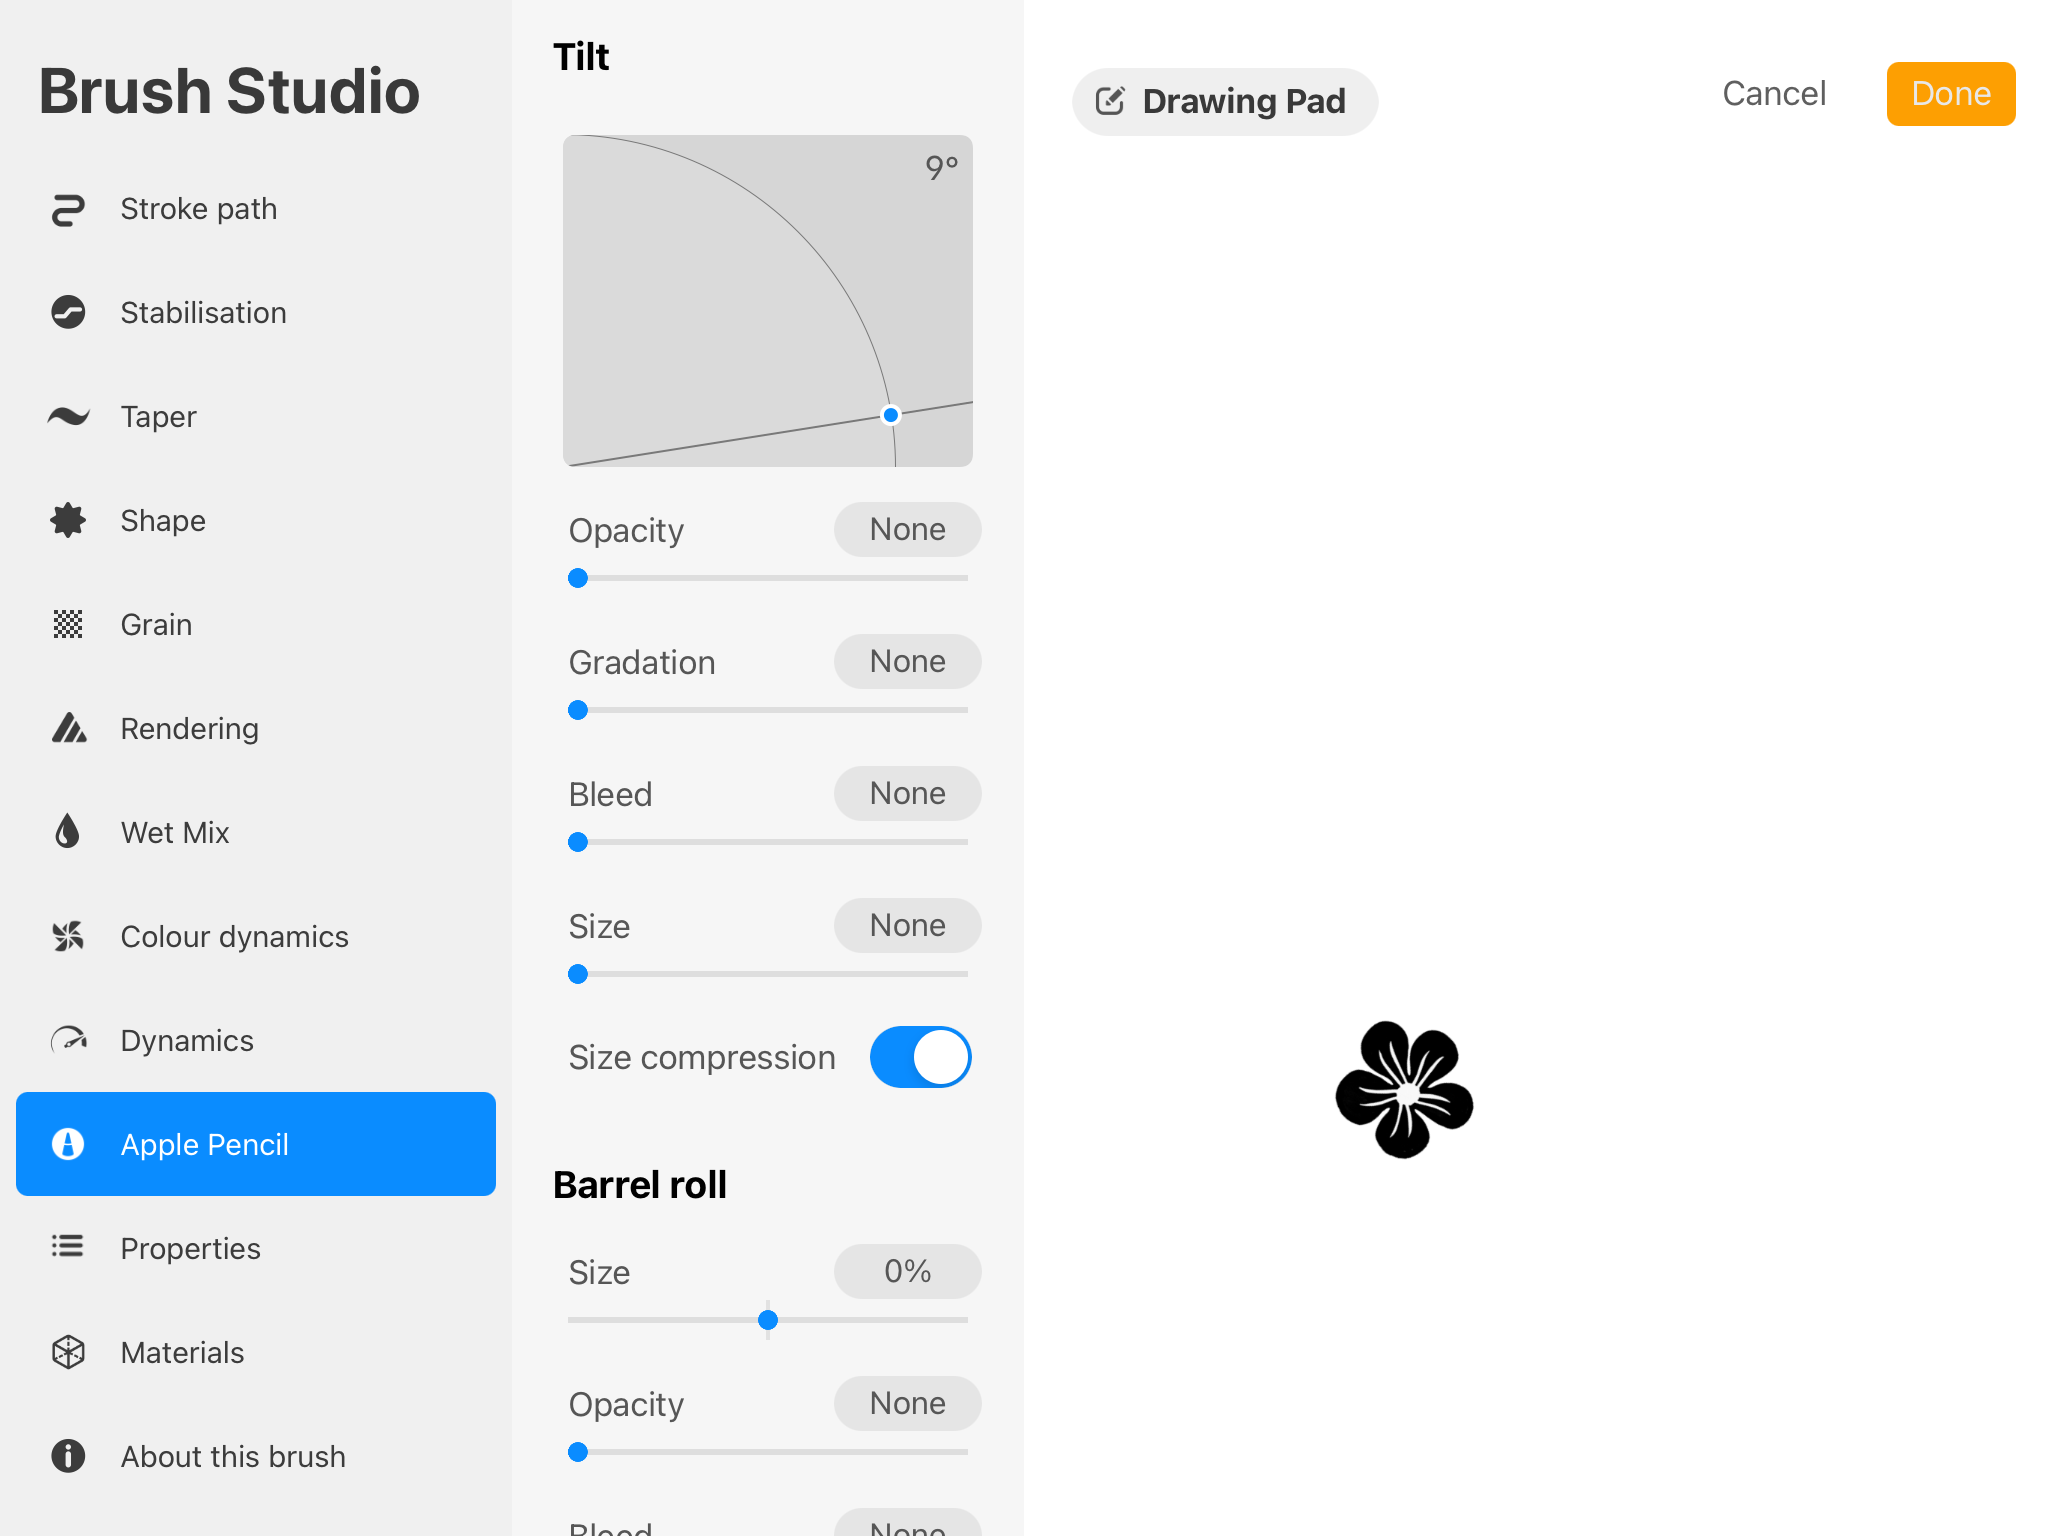
Apple Pencil Settings
Properties Settings
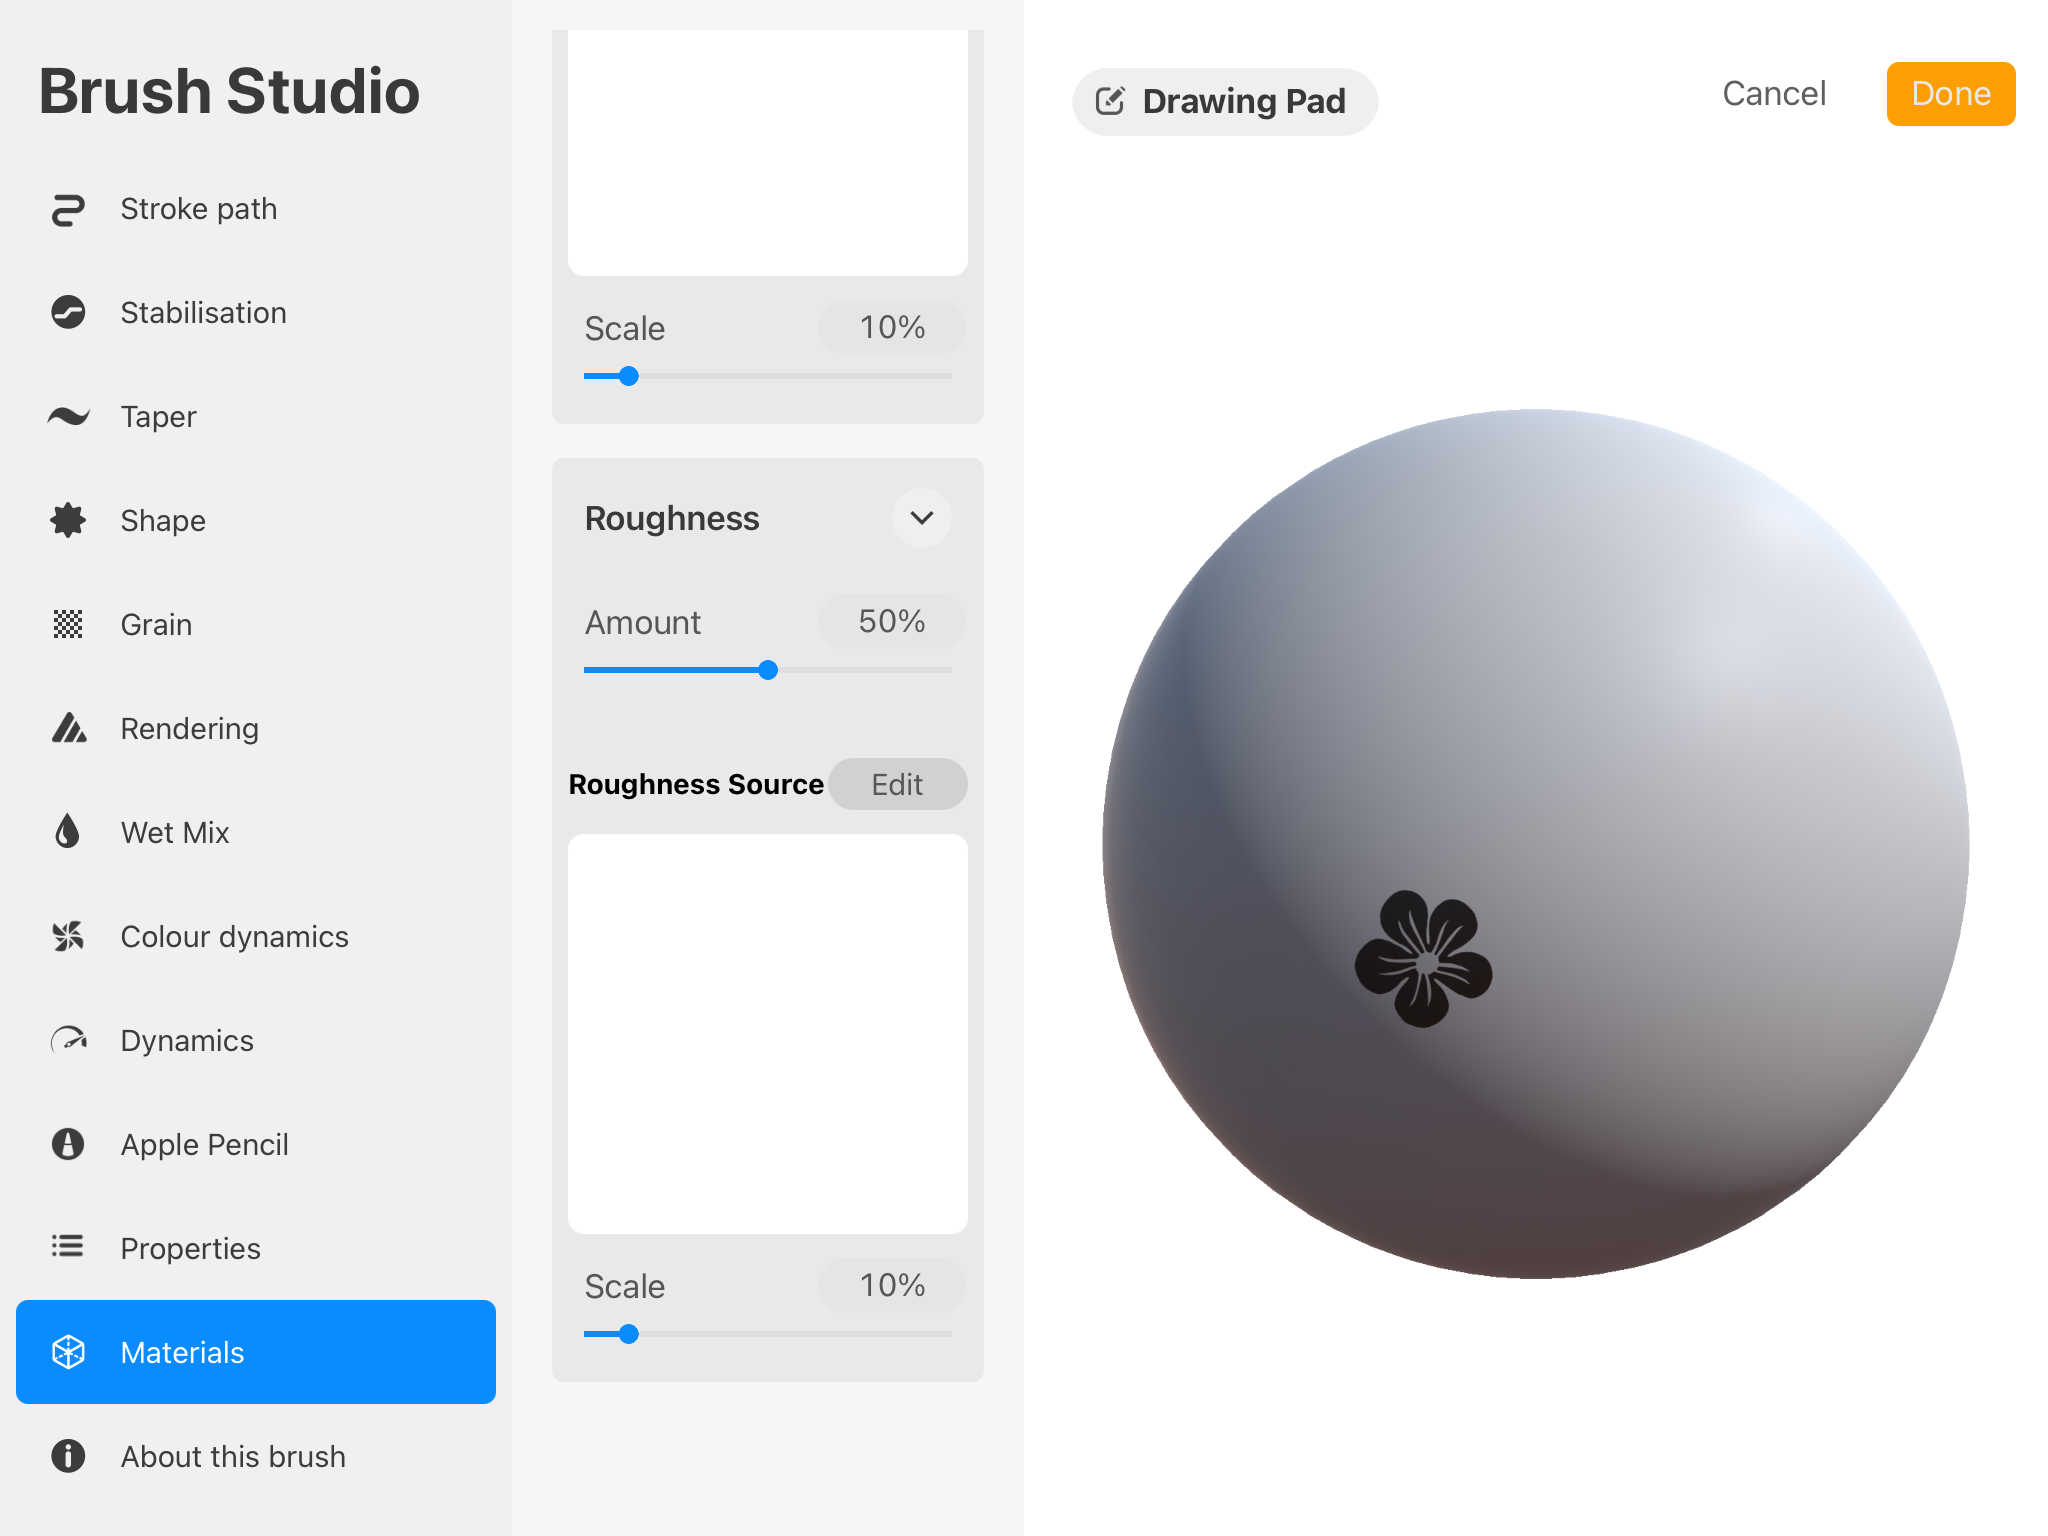
Materials Settings
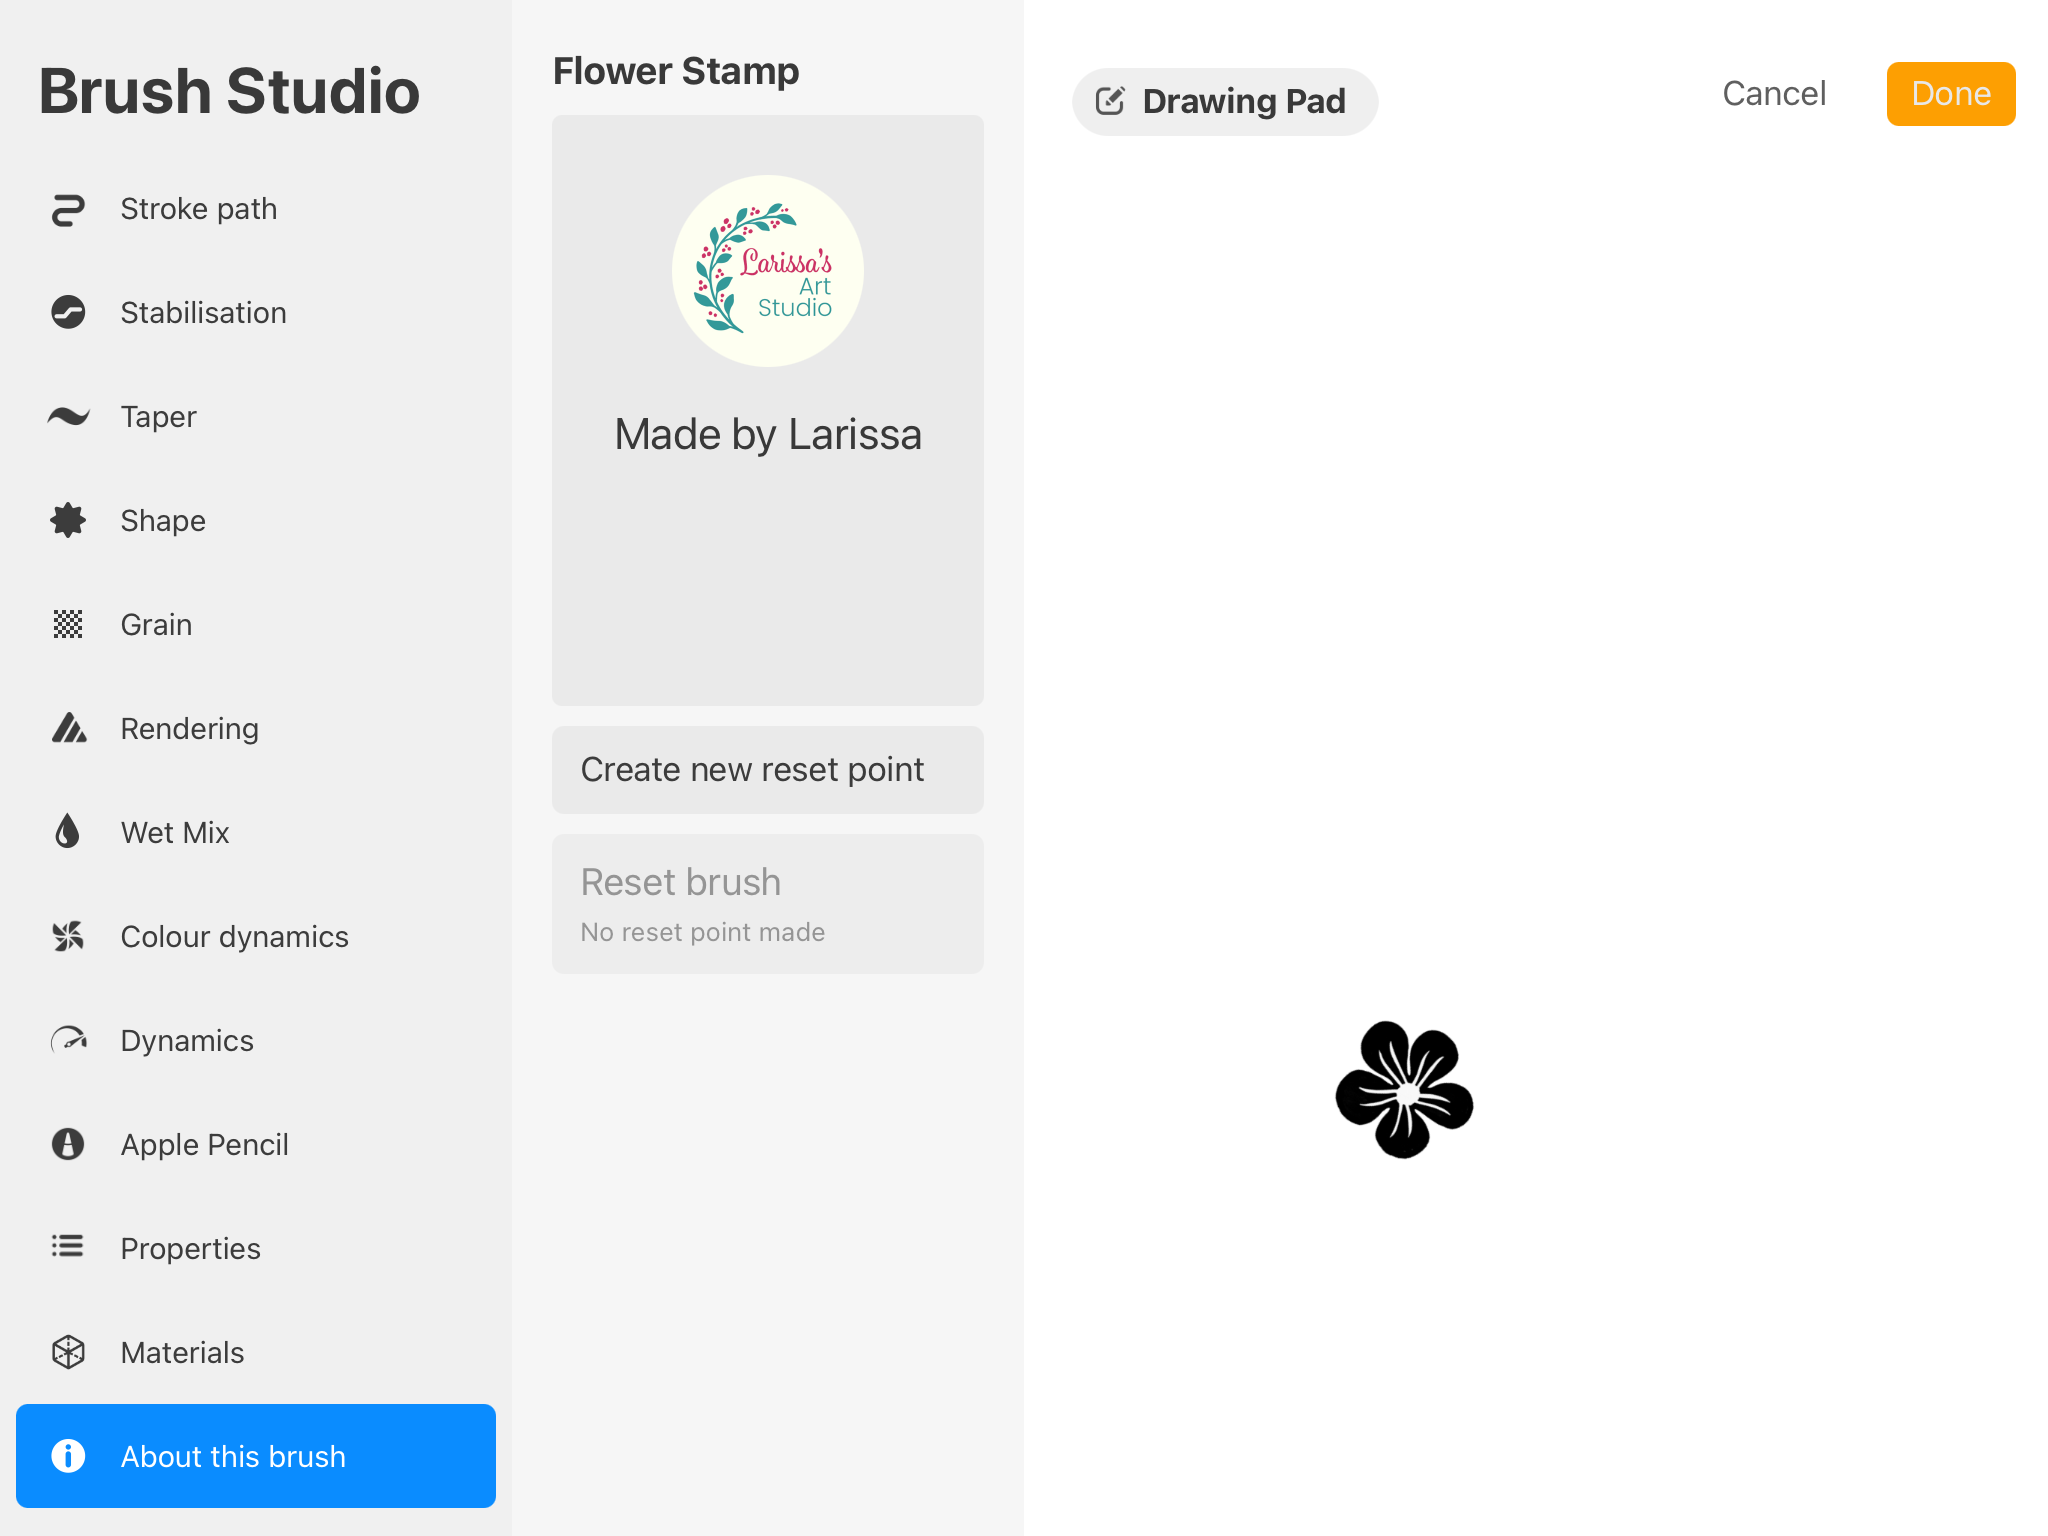
About this Brush Settings
Name your brush and sign your name in this section.
Resources
You can download the brushes and the background paper I made and used in the above tutorials (brushset file opens in Procreate):
You can also download the color palette I used in the tutorials (file opens in Procreate):
I hope you will be inspired to create lots of block print designs and stamp brushes in Procreate.
Happy creating!


