Drawing Art Supplies: Flatlay Design in Procreate

Drawing Art Supplies: Flatlay Design in Procreate I by Larissa Yeung Fung
I have been doing quite a bit of painting lately and had my art supplies all over my desk. I was staring at the art supplies the other day and it just came to me: why not draw my own art supplies and film it as a tutorial? So I just went ahead with the idea. After a few days of searching for inspiration, I decided to draw the art supplies in a flatlay composition. I scattered the art supplies all over the edges of the work, making it look like zooming in on the scene. I had lots of fun creating this illustration. So read on and see how I did it.

Drawing Art Supplies: Flatlay Design in Procreate Tutorial | the Challenge
Finding Inspiration
I have put together the following inspiration boards on Pinterest to help you gather inspiration. I do encourage you to draw your own art supplies if you do have some. And when you look through the Flatlay Compositions Inspiration Board, try to identify different types of flatlay designs. Some of them are arranged in an orderly fashion while some others are just scattered around. Have a think about what type of flatlay composition you would like to use in your work.
Preparing a Sketch
When preparing the sketch, I decided to draw the following items in my work: paint tubes, paint brushes, a paint palette, a wash bowl, a journal, scrap paper, and a big piece of paper where I was supposed to paint my work. In other words, I was planning to draw the moment that I was painting with all the supplies ready to go.
When thinking about the flatlay composition, I decided to place the big piece of paper right in the middle surrounded by the other supplies. And of course, everything is drawn from a top-down view. I drew each item on a separate layer, so it was easy for me to move them around before I locked in their position within my work.
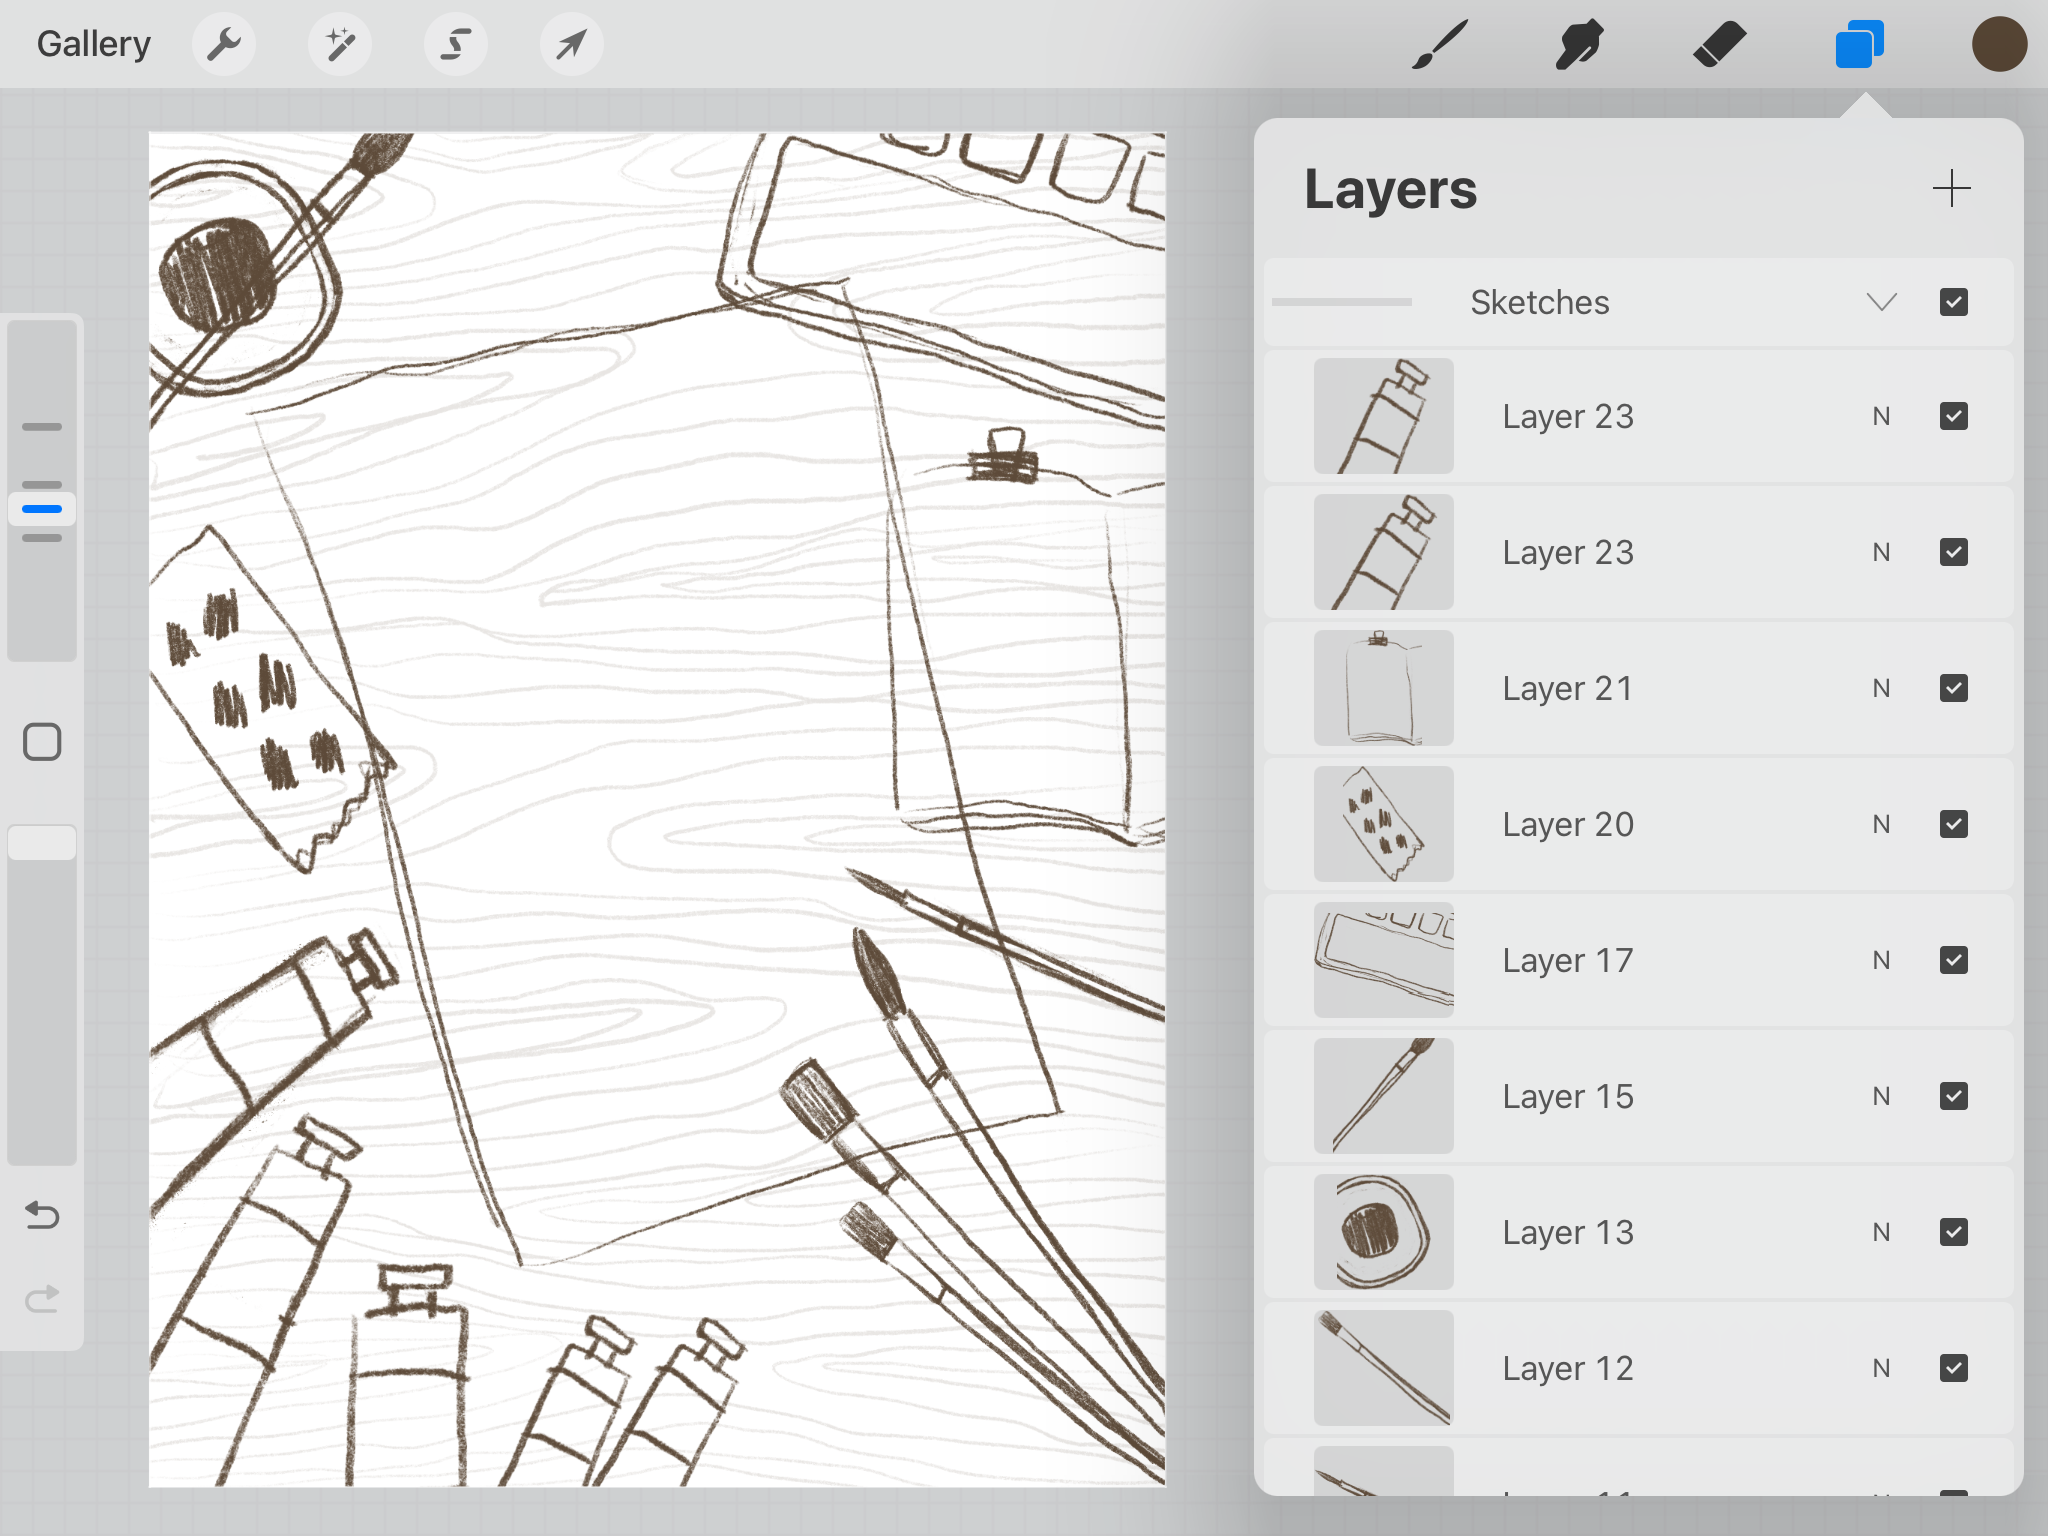
Drawing Art Supplies: Flatlay Design in Procreate Tutorial | Sketch
Drawing the desk
I decided to draw the desk first, which is also the entire background for this illustration. I wanted the desk to be a wooden desk. So I colored the whole background with a dark brown color. On top of that, I used a textured brush to draw some texture in a light brown color. And on top of that, I drew the wood grain in golden yellow but later set the blend mode as “multiply”, so the wood grain became much darker and appeared to be engraved onto the desk. I really liked how the wooden desk turned out to be. And it worked really well with the supplies placed on top.
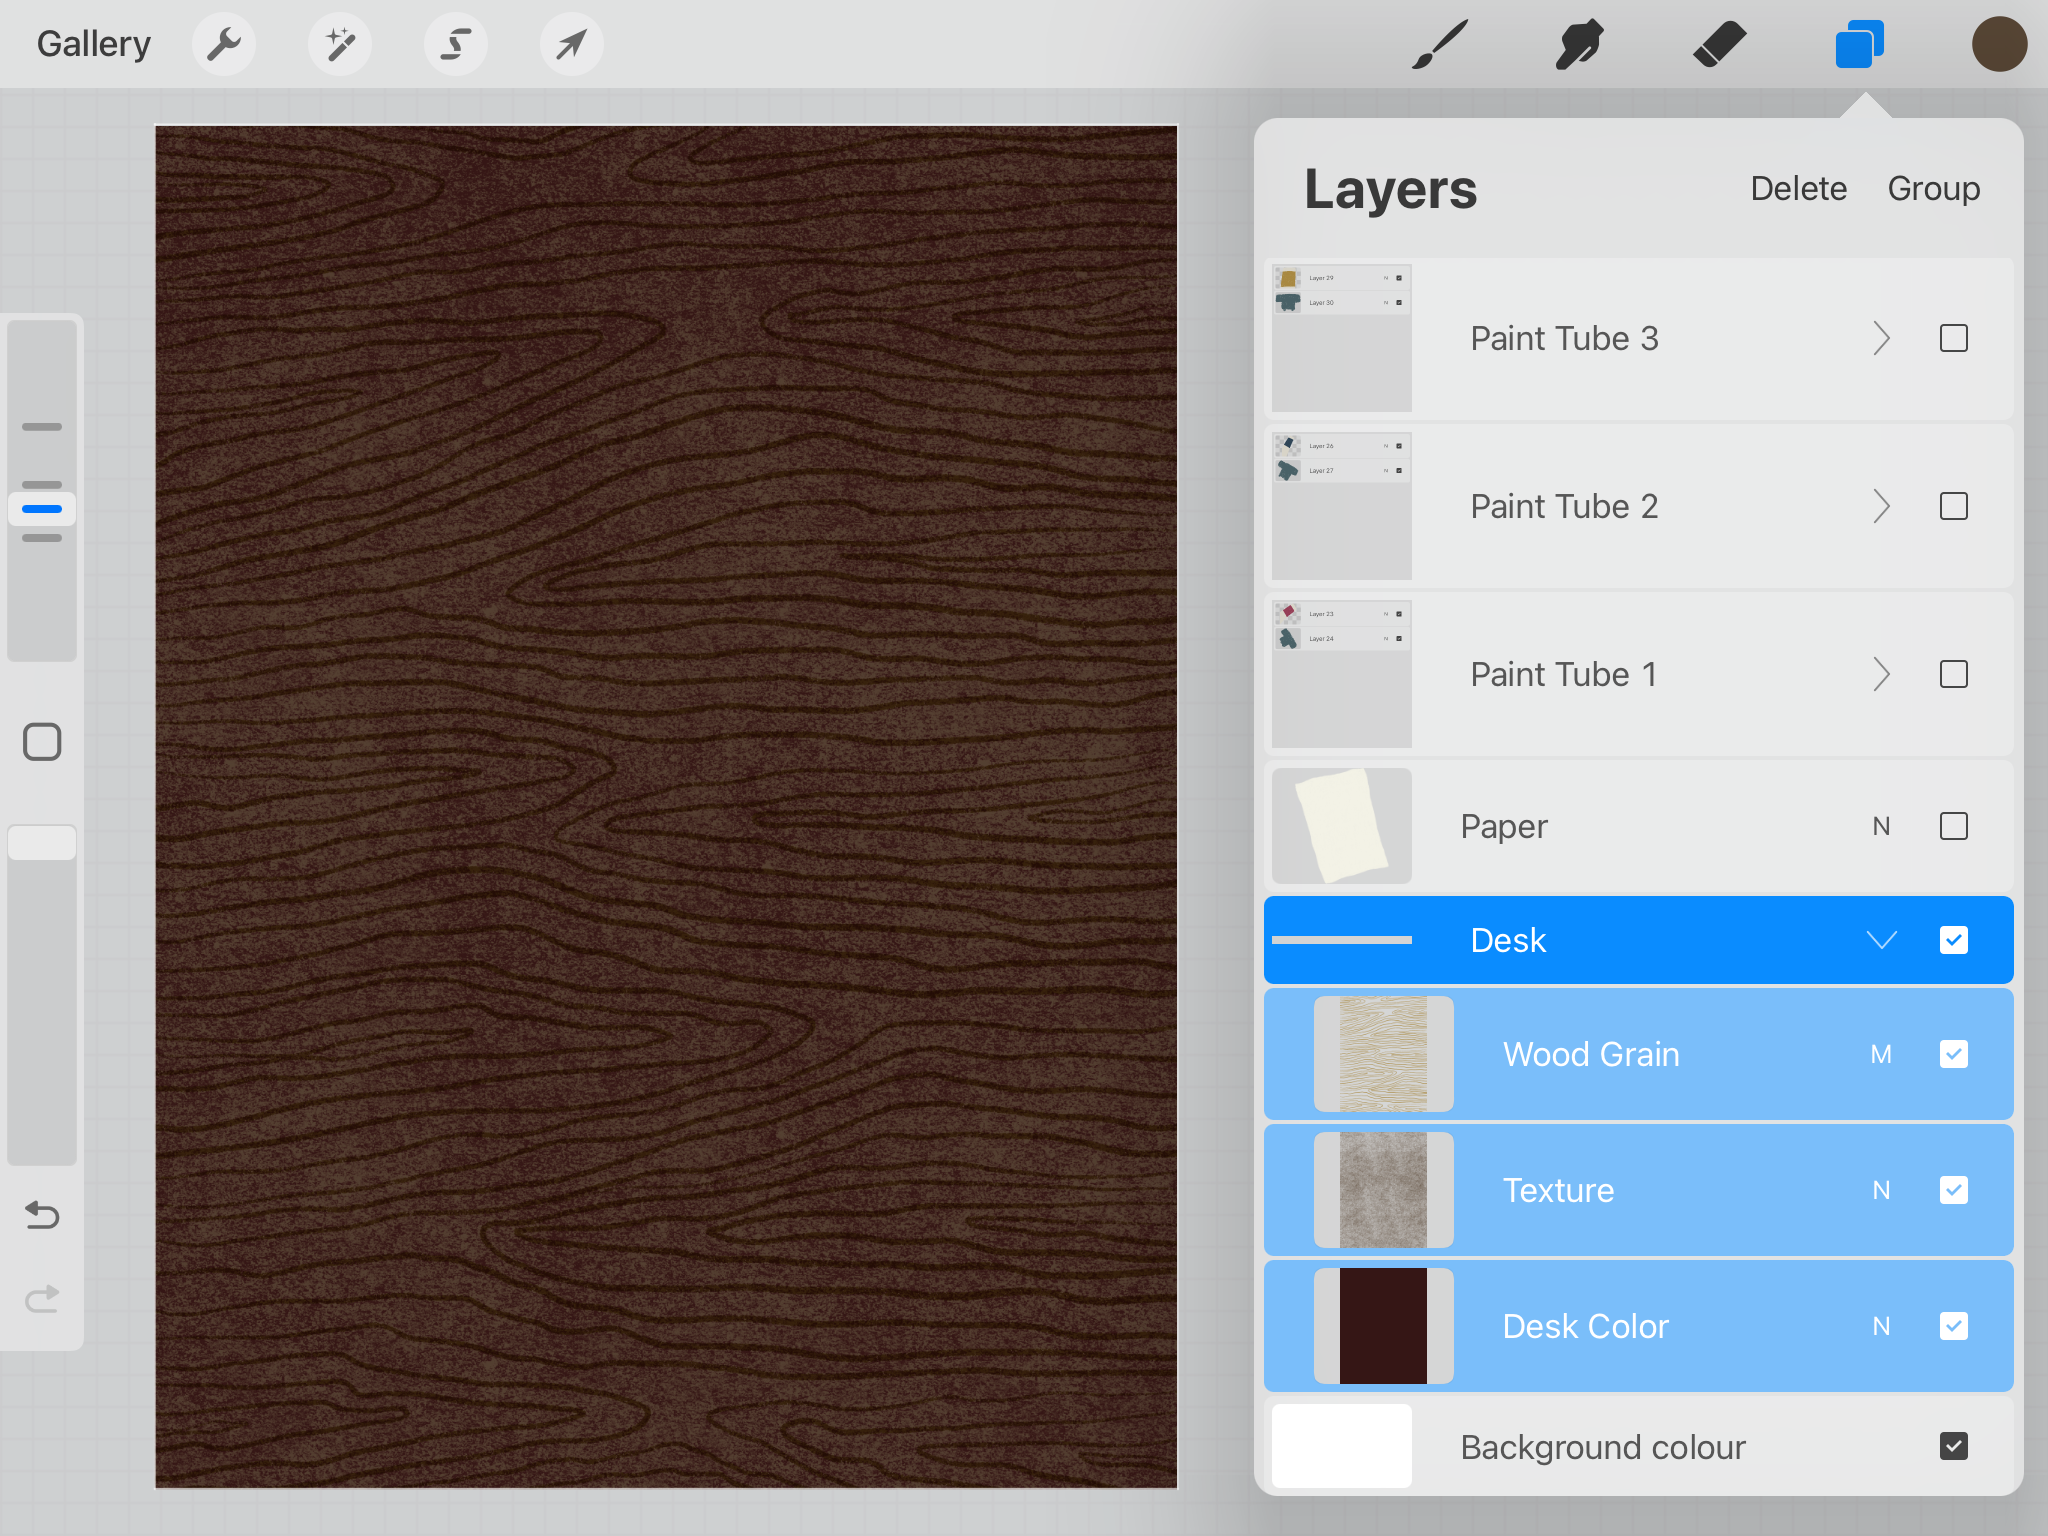
Drawing Art Supplies: Flatlay Design in Procreate Tutorial | Drawing the desk
Drawing the paper
I placed the big piece of paper in the middle of the illustration because it’s the star of the show. Right now it’s just a blank piece of paper. But towards the end, I would add nice details to it, making it really pop. Also, with the main item in place, it would be easier for me to arrange the other items around it.

Drawing Art Supplies: Flatlay Design in Procreate Tutorial | Drawing the paper
After that, I drew the following art supplies anticlockwise:
Drawing the paint tubes
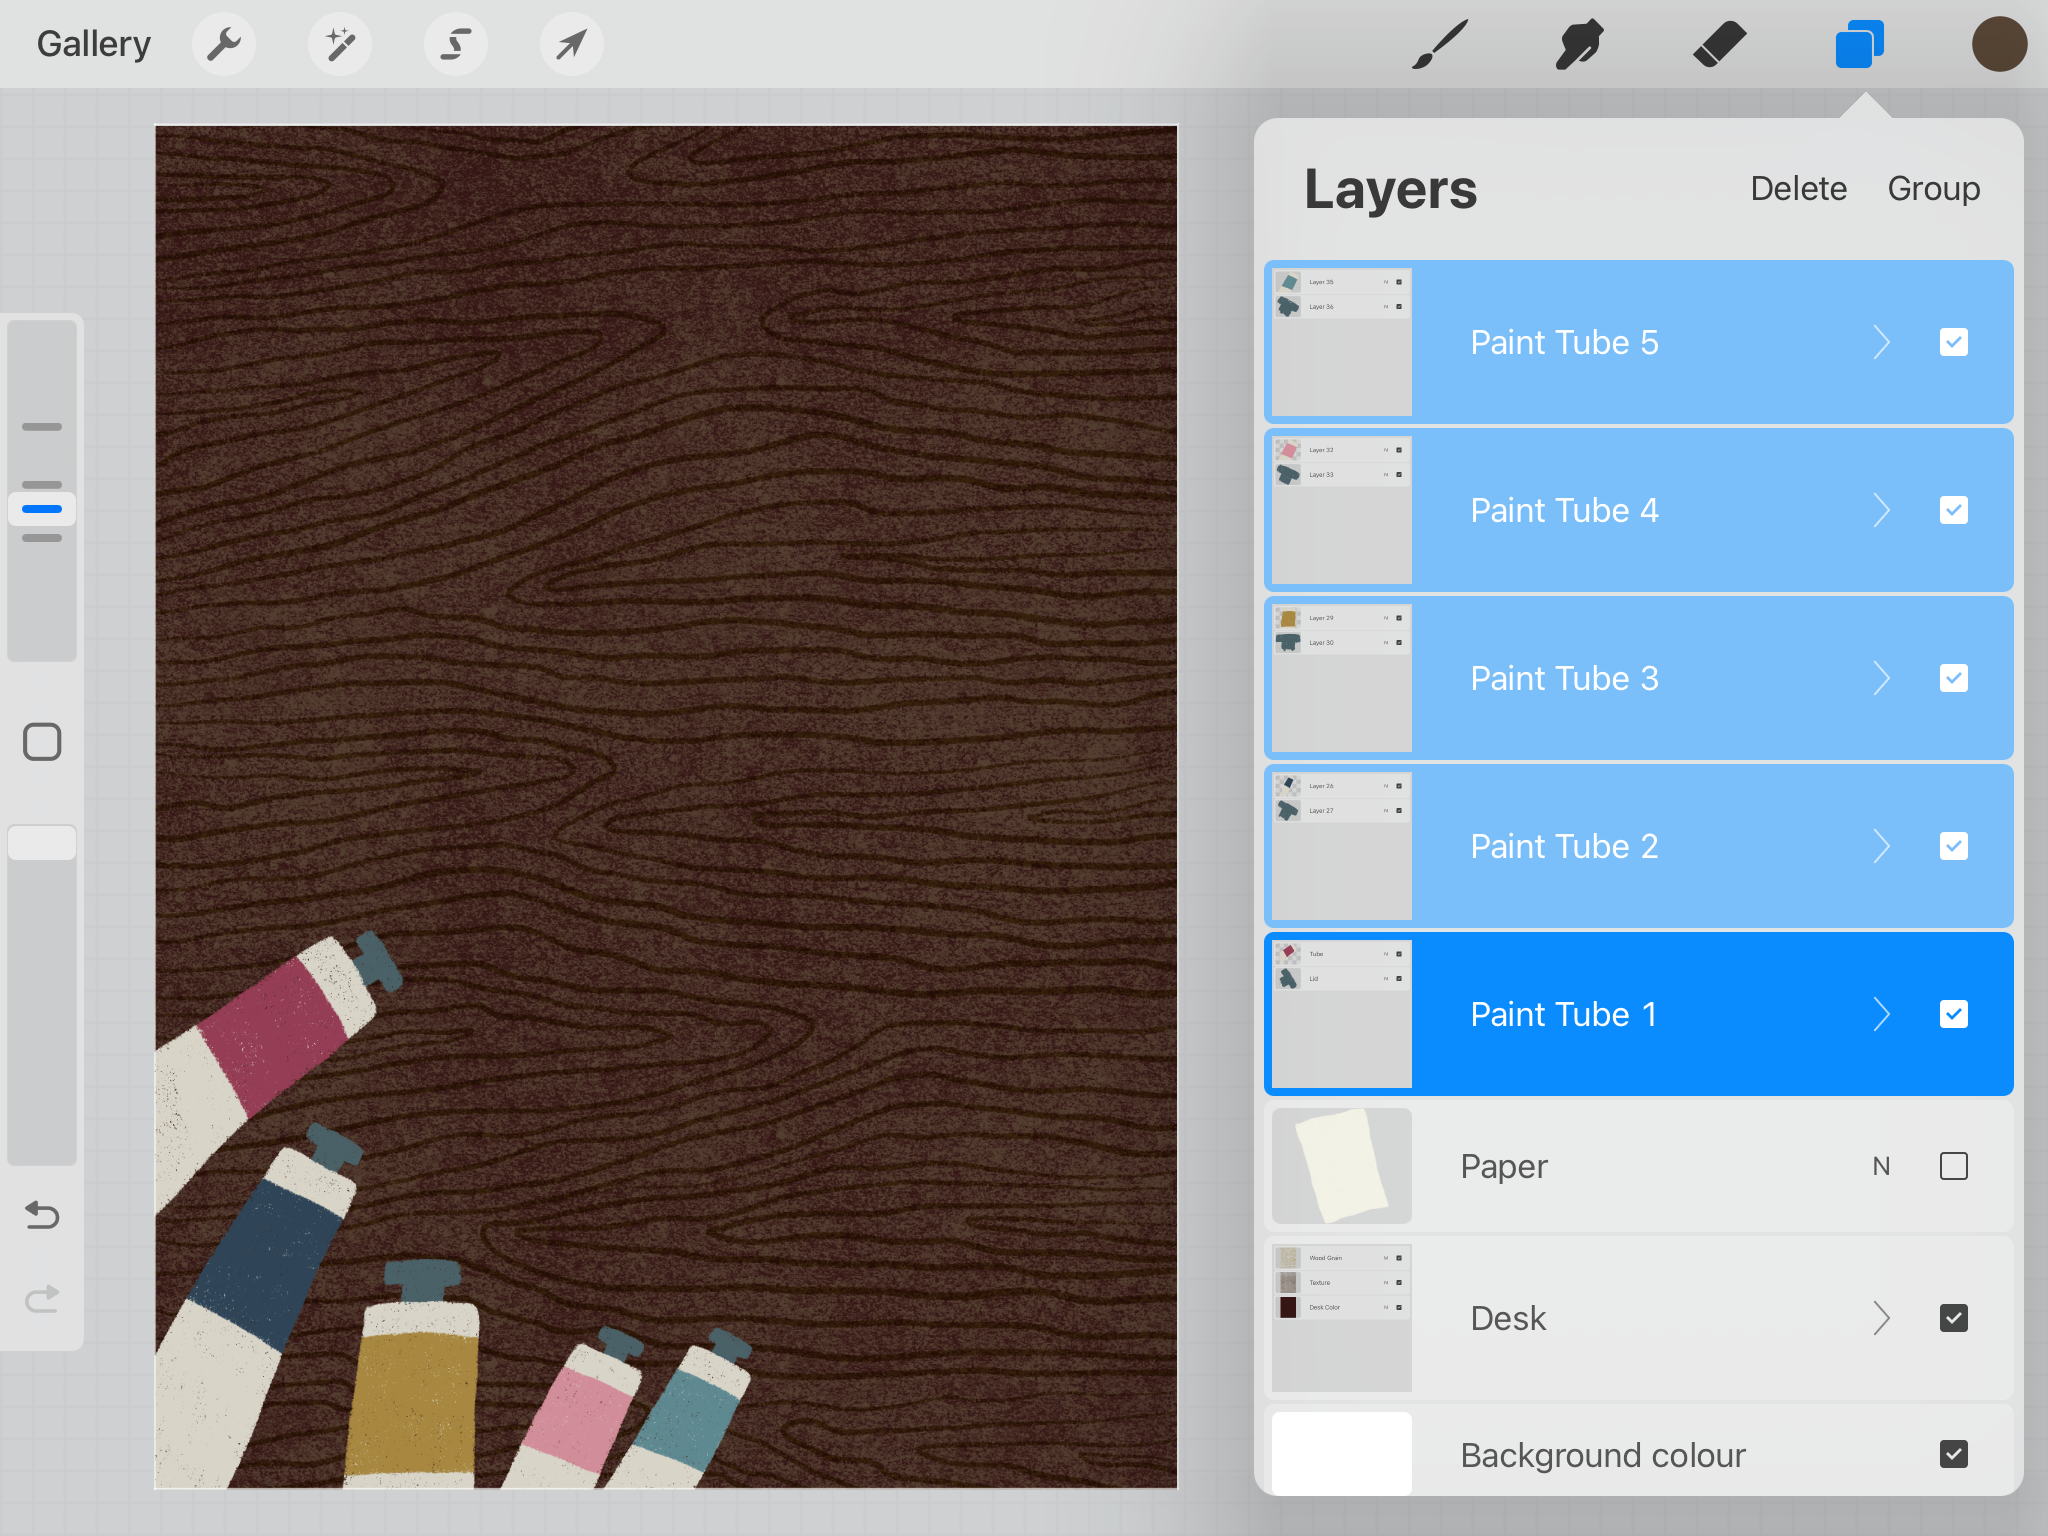
Drawing Art Supplies: Flatlay Design in Procreate Tutorial | Drawing the paint tubes
Drawing the paint brushes
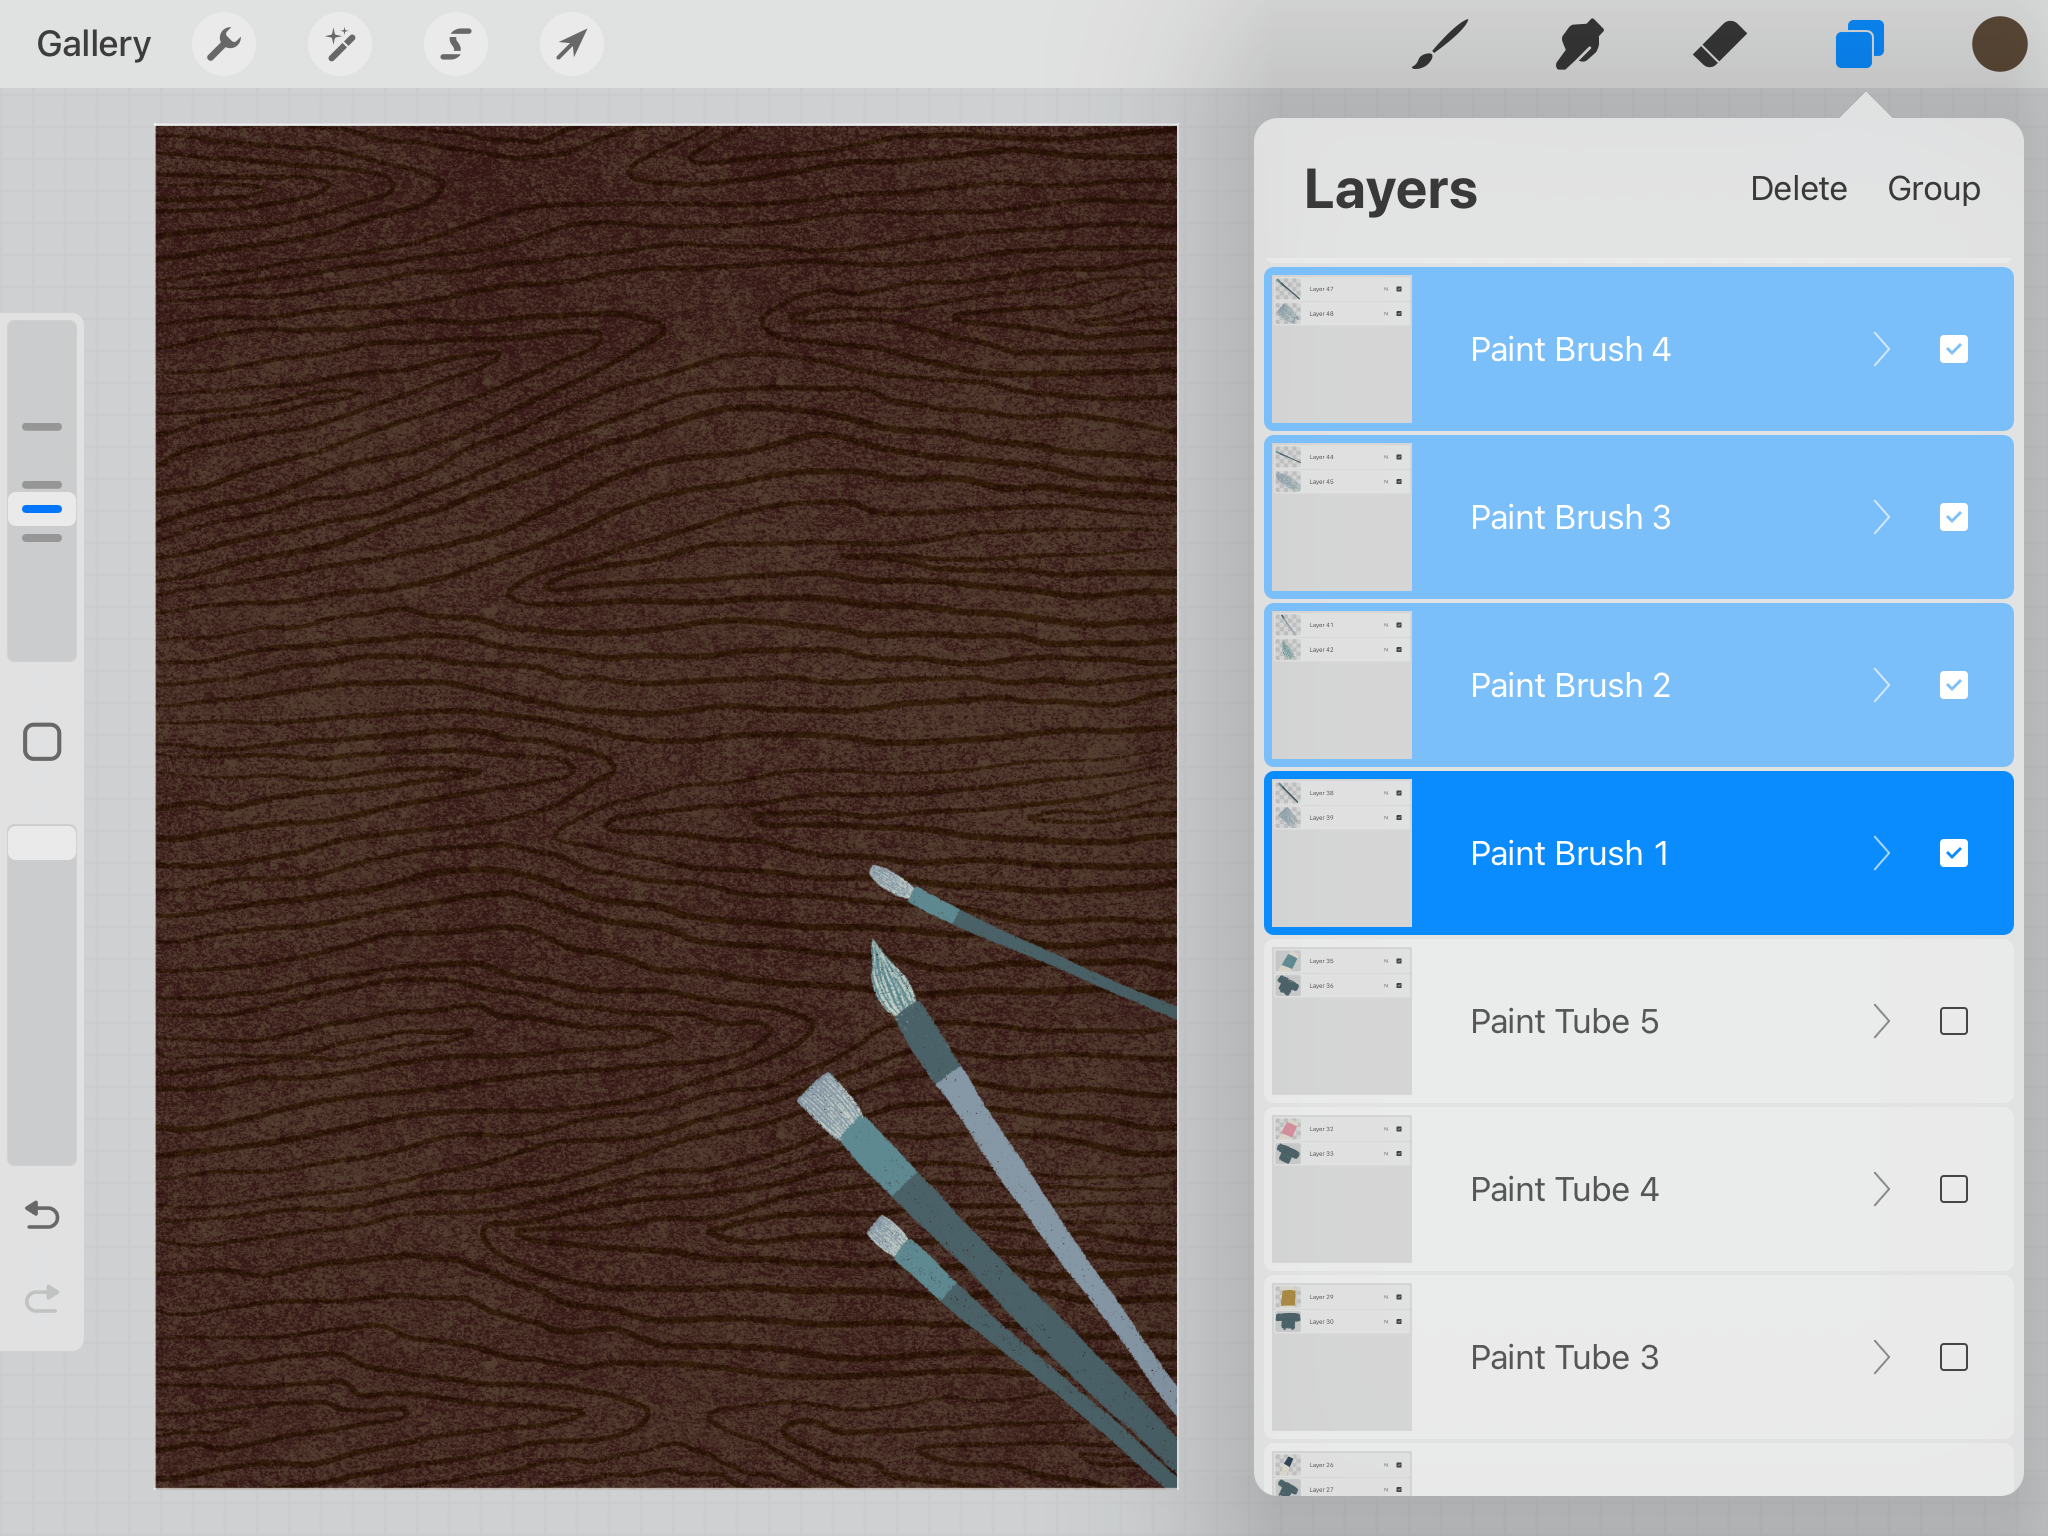
Drawing Art Supplies: Flatlay Design in Procreate Tutorial | Drawing the paint brushes
Drawing the journal
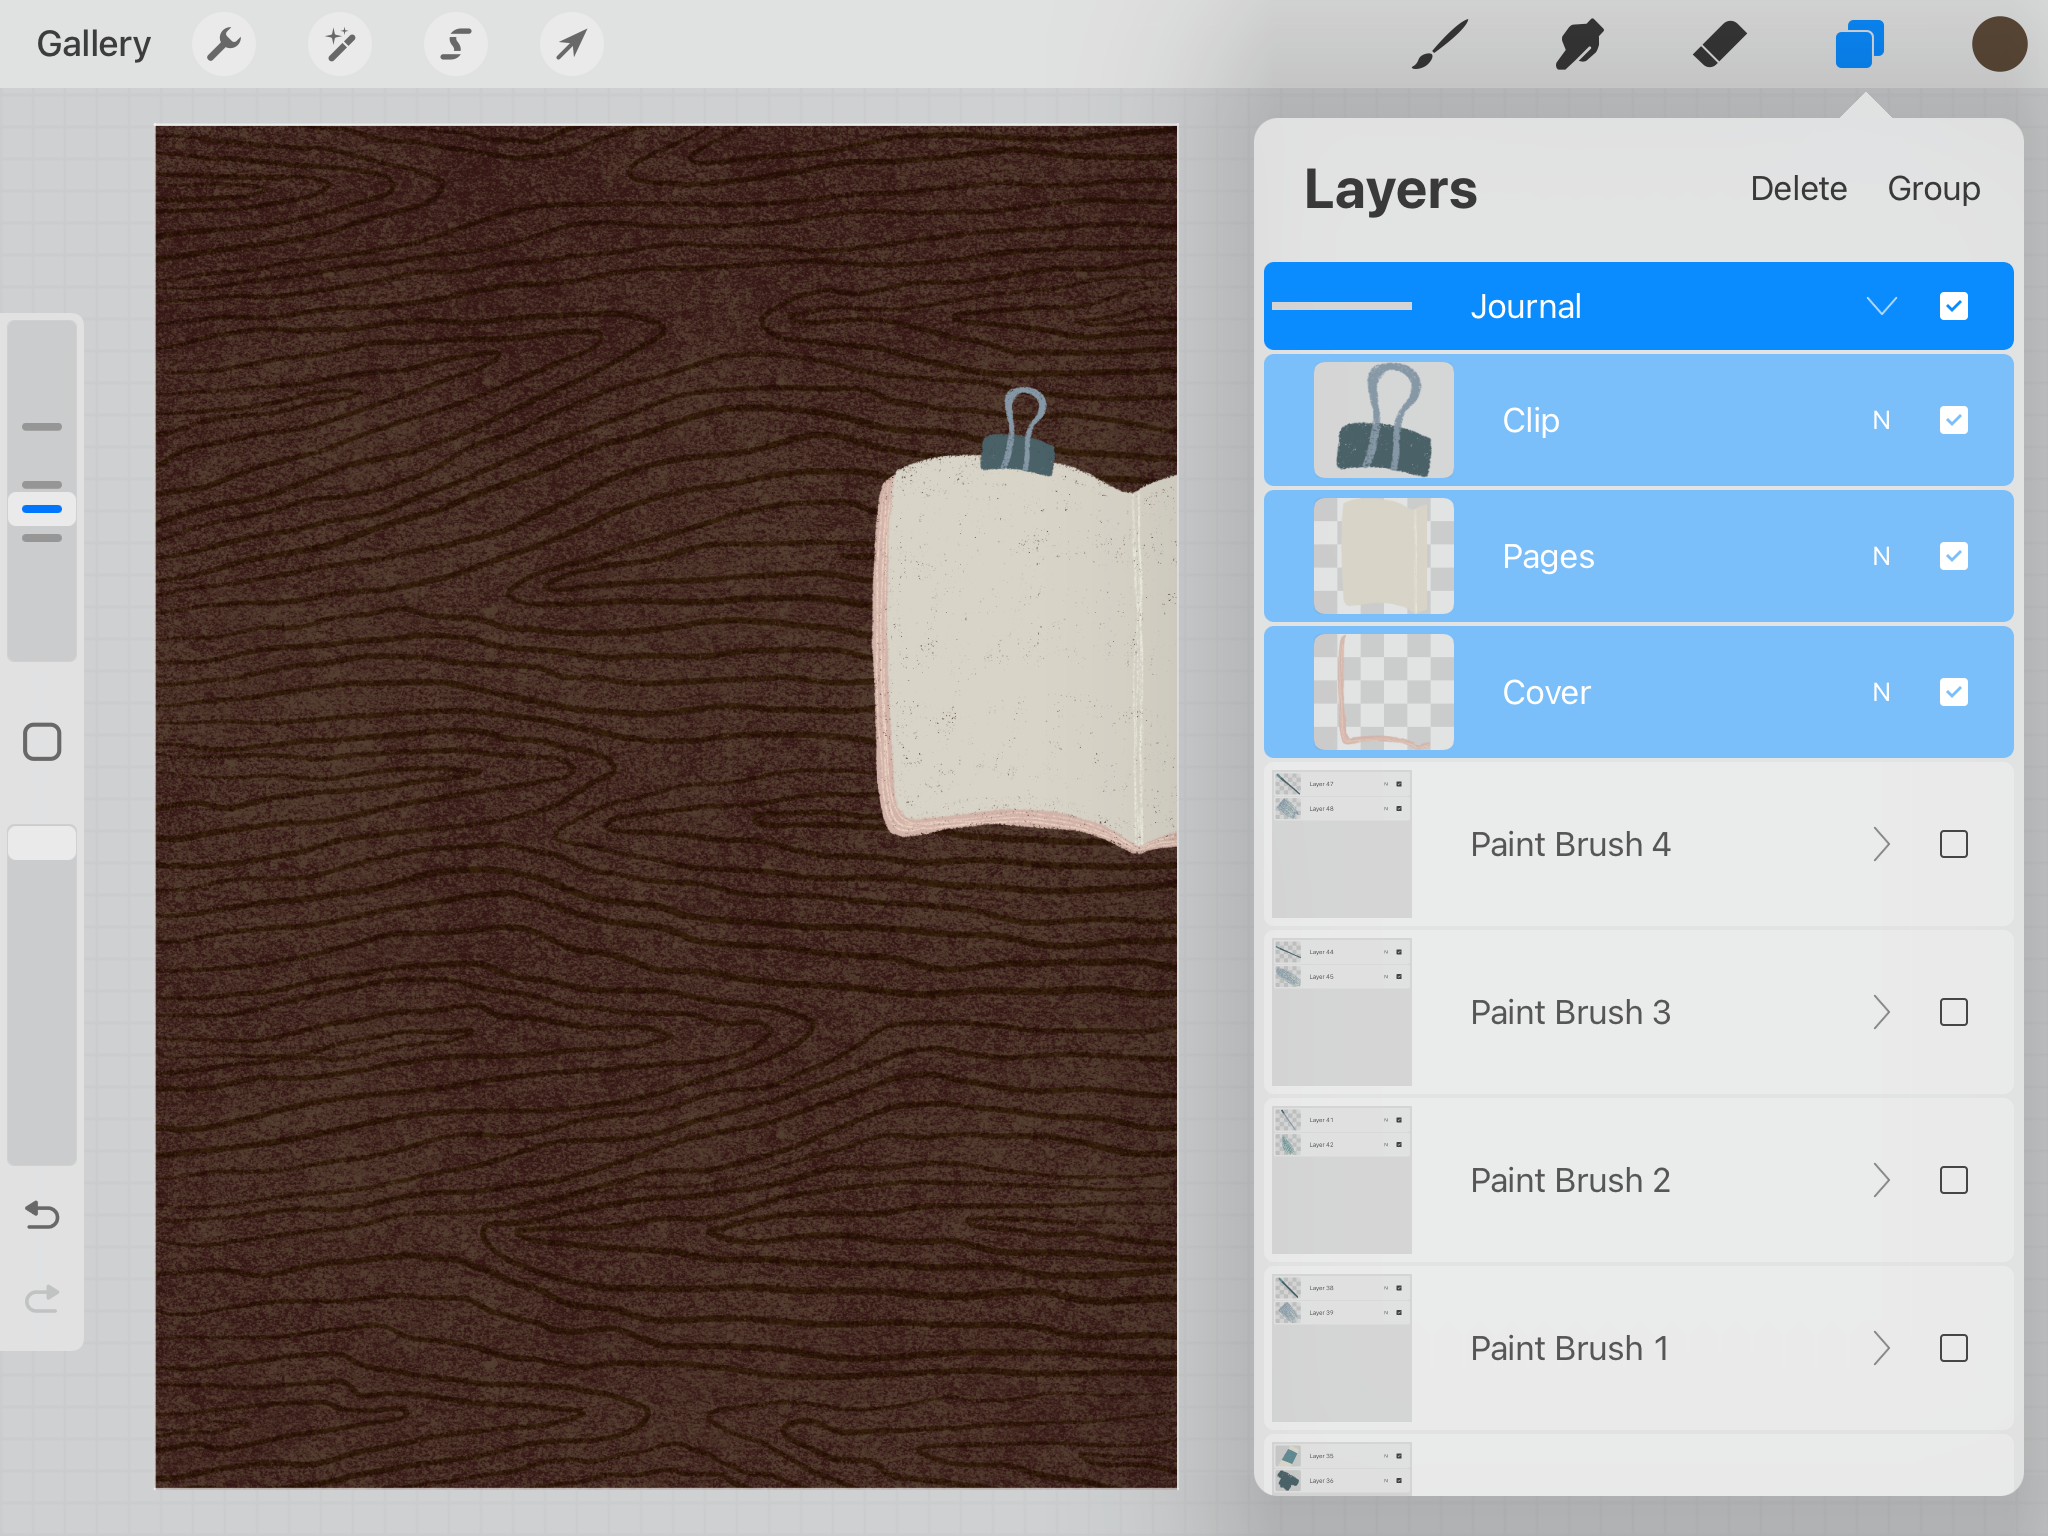
Drawing Art Supplies: Flatlay Design in Procreate Tutorial | Drawing the journal
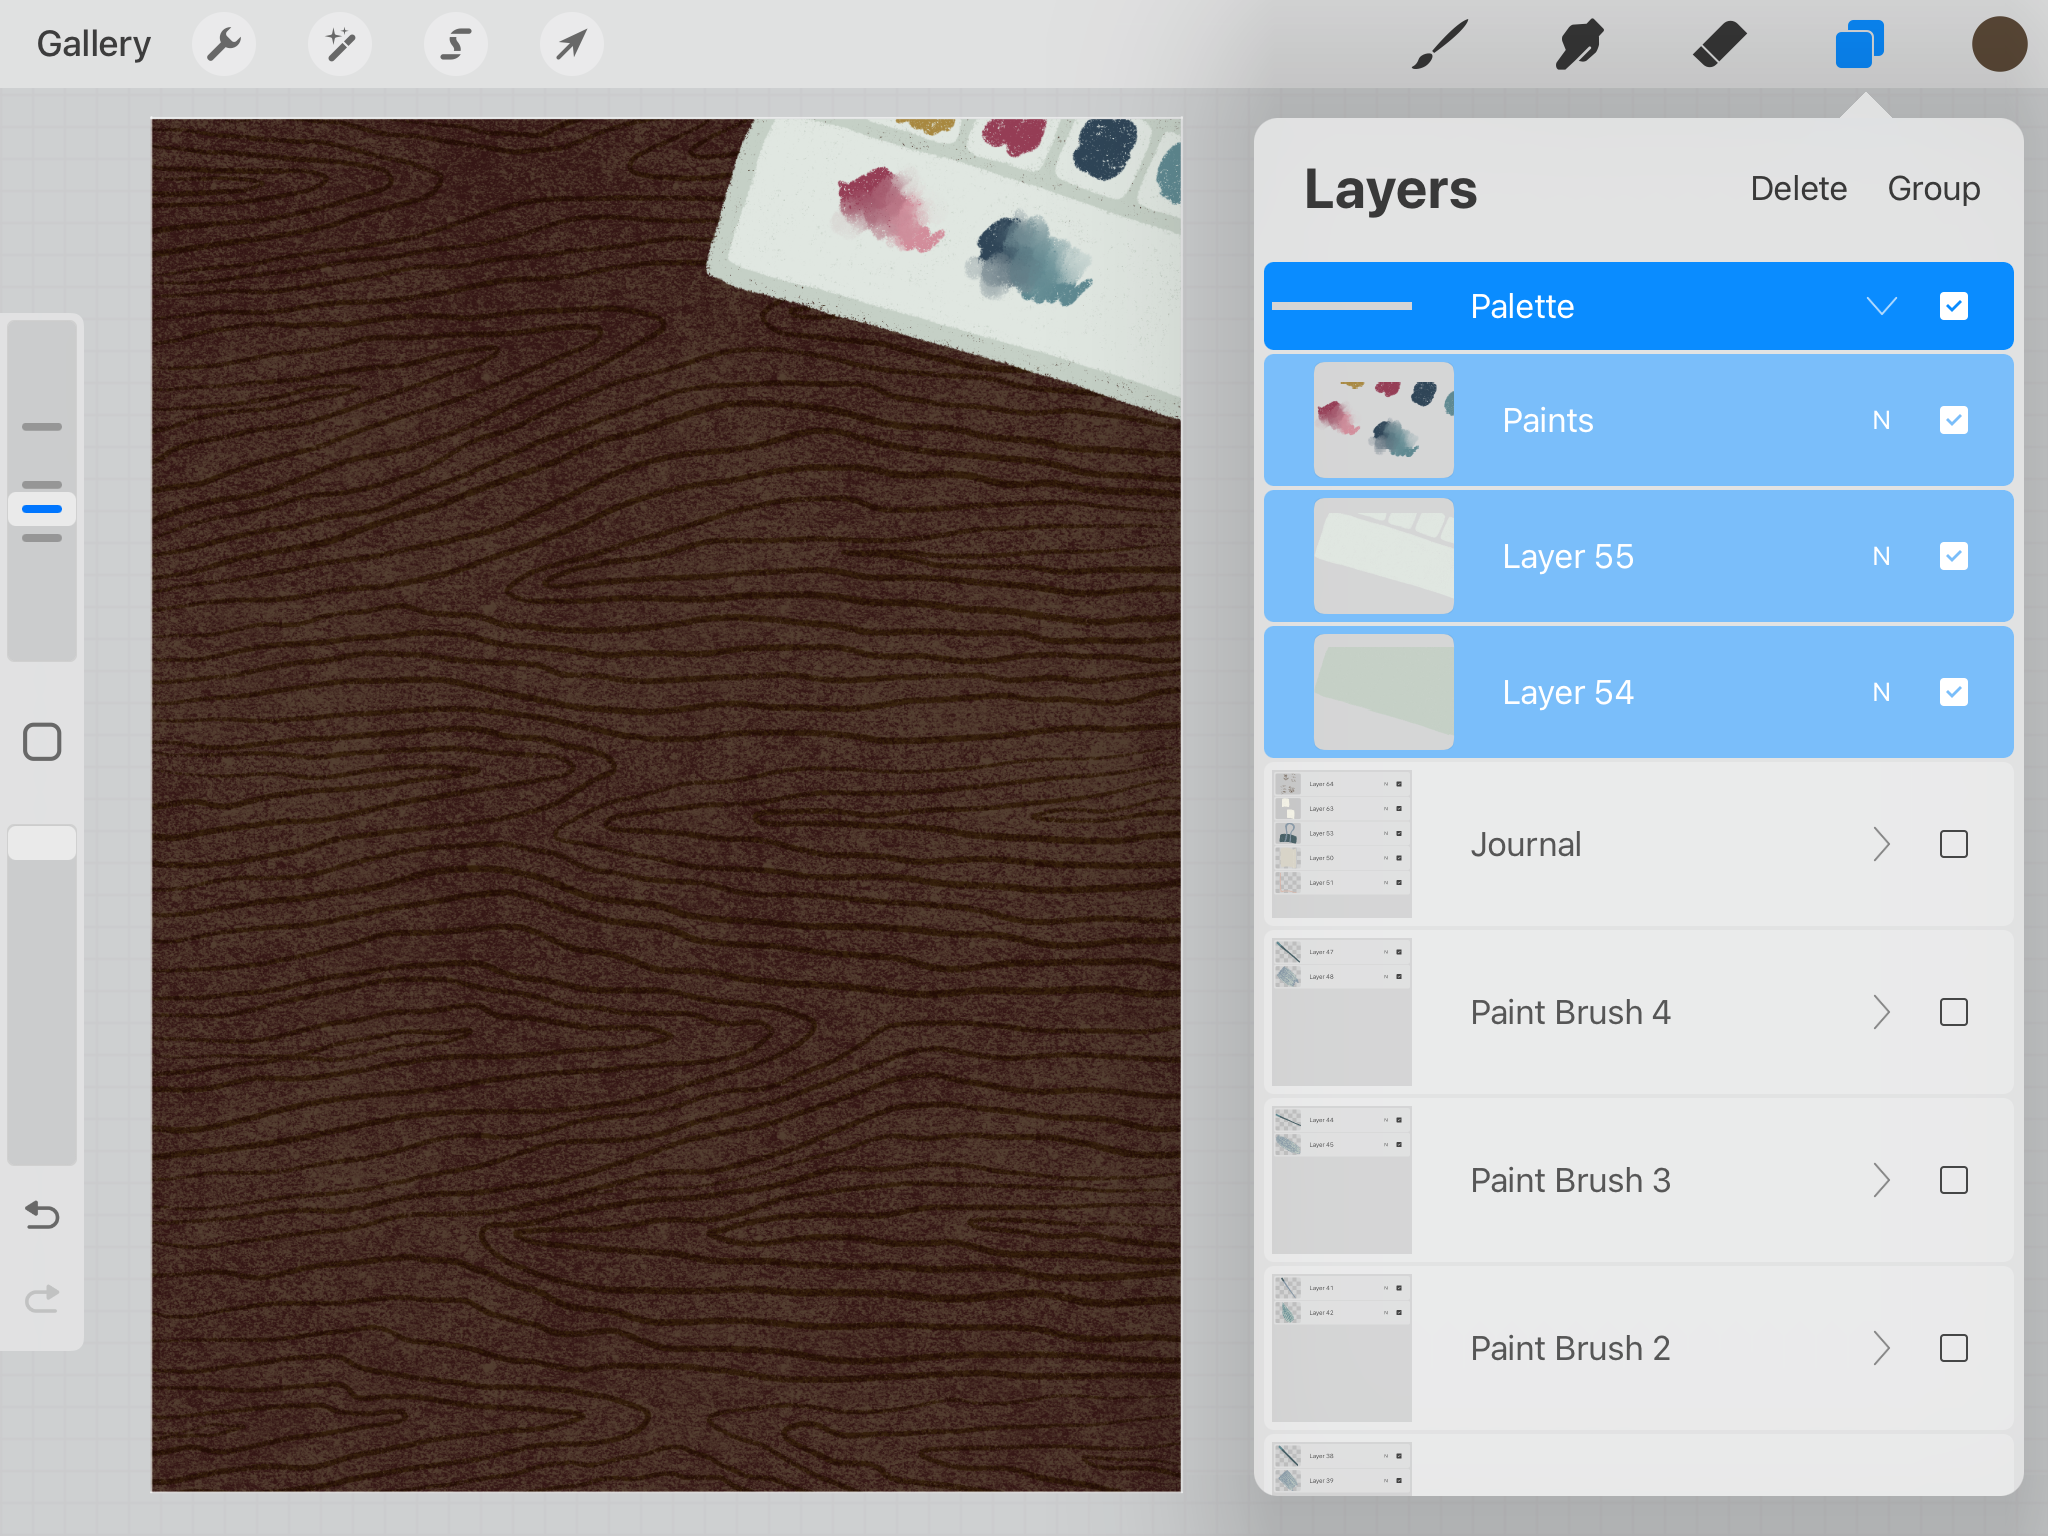
Drawing the palette

Drawing Art Supplies: Flatlay Design in Procreate Tutorial | Drawing the palette
Drawing the wash bowl and the paint brush on top

Drawing Art Supplies: Flatlay Design in Procreate Tutorial | Drawing wash bowl and paint brush
Drawing the scrap paper

Drawing Art Supplies: Flatlay Design in Procreate Tutorial | Drawing the scrap paper
Adding details to the palette
At this stage, I’ve drawn pretty much everything I’ve planned. But I felt the need to add nice details to some of the supplies, so the entire illustration would look much better. Off the top of my head, I needed to add some paints to the palette. It just makes sense. Here, I used the Smudge tool to blend two different colors together, which looked like I was mixing the paints.
Drawing Art Supplies: Flatlay Design in Procreate Tutorial | Adding details to the palette
Adding details to the journal
I also felt I needed to add something to the journal. The purpose of the journal here is for me to collect ideas before I started working on an artwork. So I drew two little pictures of flowers and pretended to write something about them.

Drawing Art Supplies: Flatlay Design in Procreate Tutorial | Adding details to the journal
Adding details to the paper
Now I’ve come back to the big piece of paper in the center of the work. I promised to add nice details to it to make it the star of the show. So I decided to draw beautiful flowers on it, which appeared to be picked from the journal. In this way, I’m actually creating a dialogue between the journal and the center work, so viewers can see the connection between them.

Drawing Art Supplies: Flatlay Design in Procreate Tutorial | Adding details to the paper
You can download the color palette I used in this work:
Enjoy the tutorial and hope you are inspired to draw your own art supplies.
Happy creating!